Charcuterie Board and Dessert Table Decoration – DIY Cornucopia Harvest
Charcuterie boards have been a popular item recently but we haven’t really seen any decorations to go along with them…until now! This week we want to share an awesome DIY Cornucopia Harvest Charcuterie Board and Dessert Table Decoration. This polymer clay sculpture is easy to make, whether this is your first time using polymer clay or if you’re a seasoned pro, this fun sculpture is fun to make!
This blog post may contain affiliate links. What does that mean? We may get a small commission if you make a purchase using our links, which helps us to keep posting new holiday content every week.

This cute pumpkin arrangement is a lot of fun to make. Older kids will love to make their own, so get them involved too! To create this pie topper you will need some small tools such as toothpicks and small crochet hooks. You can either paint this project when it’s cooled and cured or use different coloured clay.
What You’ll Need To Make a Charcuterie Board and Dessert Table Decoration
- Polymer clay in: orange, brown, red, green, yellow, light green. OR white and paint the cured clay when dry.
- Toothpicks
- Paint, if using white clay.
- Pain brush
- Small crochet hook
- Sharpe cutting knife

What are some Quick Polymer Clay Tips?
- Firstly you’ll need to knead all of the clay to soften it, try to avoid creating bubbles and squish out any that do form.
- Bake your clay in an oven or toaster oven. Polymer clay cures at 275 F which is even lower than baking cookies!
- Polymer clay should be baked using the manufacturer’s advised temperature (usually 230°F – 275°F).
- Baking times are typically 15 – 30 minutes for each ¼ inch thickness. Thinner sculptures will take less time than thicker.
- Place your clay on a baking sheet lined with parchment paper. For sculptures like ours, you can use a cornstarch bed or we prefer a polyester fibre to hold the characters shape.
- To avoid browning you can use aluminum foil cake pans to place your sculptures in and cover with another.
- Crochet hooks are amazing tools to use with polymer clay, the are perfect for smoothing and blending clay in areas that your fingers can’t reach!


Let’s Begin your Charcuterie Board and Dessert Table Decoration!
Firstly you’ll need to knead the clay to soften it, try to avoid creating bubbles and squish out any that do form. Once the clay has been softened, you can begin to create the cornucopia.
Using a moderate amount of clay, form a cone shape. To create the “opening” use your thumb to indent the large part of the cone. Build the opening of the cornucopia by adding a small, long rolled piece of clay around the indented opening, blend this in using the crochet hook. Add some details to the body of the cornucopia using your toothpick. Once the cornucopia is finished you will see the size of it to better judge how many “fruits and vegetables” you’ll need.
Next, create the harvest fruits and vegetables. Grapes and leaves are perfect for filling holes and left over space. Be sure to use the toothpicks and crochet hooks to smooth the apples and likewise, the grooves in the pumpkins.

To create the clay fruit and vegetables:
- The apples can be made by creating sphere’s with dents at the top
- Grapes are tiny, tiny sphere’s that are piled on top of each other
- Create corn by rolling a small cone and adding texture using the toothpick, wrap the corn in thin husks
- The leaves are made by creating flat disks, cut the shape of a leaf out and smooth the edges with your fingers or crochet hook
- Create the pumpkins by creating varying sized sphere’s. Use a toothpick to create the ribs of the pumpkins and add a small stump to the tops.

Add the fruits and vegetables to your cornucopia, you may want to add a base to your sculpture, which makes adding all the harvest pieces easier. When you’re happy with your arrangement, we can go ahead and bake!
Finally, bake your sculpture using the clay manufacturer’s instructions. Allow the sculpture to dry completely, and be careful because it will be HOT when the timer first dings!
If you decided to use white clay, go ahead and paint your creation when it has cooled completely.
It’s now ready to placed in and around your charcuterie board or dessert spread! This sculpture looks awesome on a pumpkin pie also, but be sure to piece of waxed paper under it so the clay is not touching the food directly.


We hope you loved DIY Cornucopia Harvest Charcuterie Board and Dessert Table Decoration!! We think it’s the perfect way to add some festive fun to your Thanksgiving celebration, dinner, work event or family dessert! If you’re looking for more Thanksgiving delights certainly check out our amazing Pumpkin Patch Cupcakes. Happy Crafting!

![]()


You May Also Like
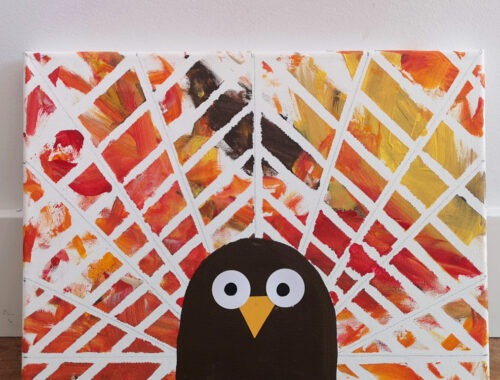
Toddler Turkey Art – Fun and Learning
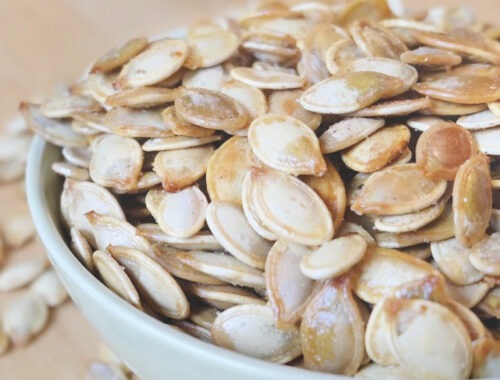
Pumpkin Spice Roasted Pumpkin Seeds