Leaf String Art in a Thanksgiving Rainbow
Looking for an easy and satisfying craft this Thanksgiving? We have just the thing. Our Leaf String Art is a retro craft – popular in the 70’s and gaining popularity once again. What makes this craft so popular? It’s easy and inexpensive and the results are stunning! Adding a rainbow of fall colours makes for perfect Thanksgiving art. Keep reading to see how we did it!
This blog post may contain affiliate links. What does that mean? We may get a small commission if you make a purchase using our links, which helps us to keep posting new holiday content every week.

What You’ll Need:
- Wood board (at least 10” by 10”)
- Small nails
- Hammer
- Crochet thread
- Scissors
- Ruler
- Leaf template – get it here


Print out the leaf template and then position it on the wood board.
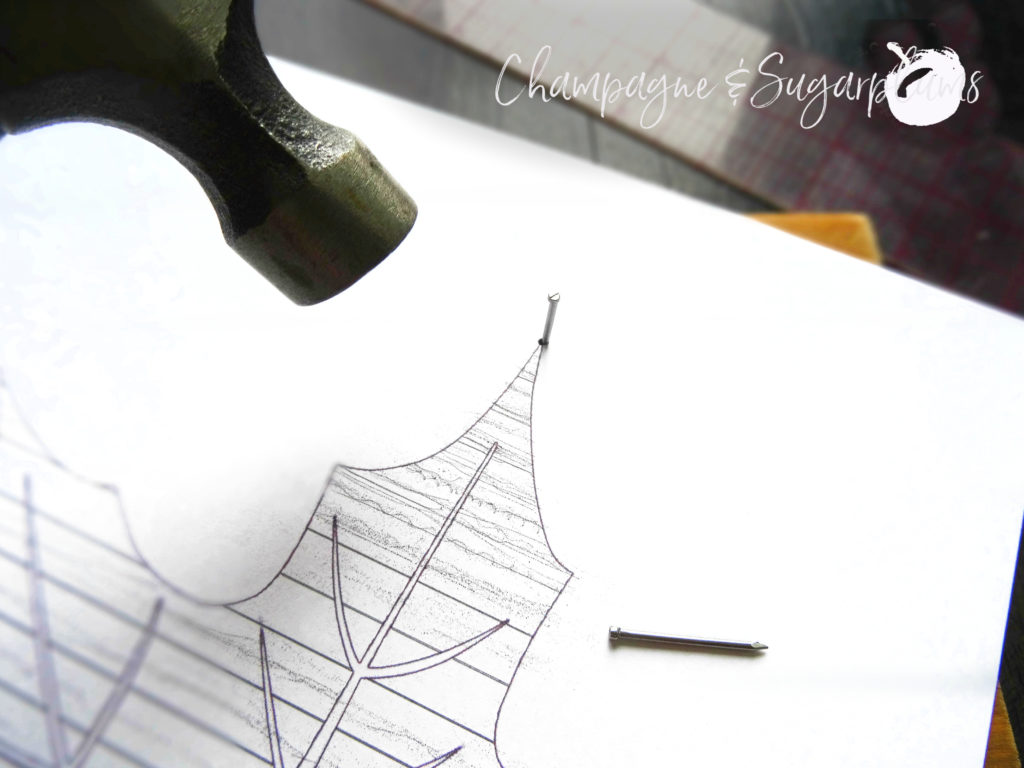


Start hammering the nails into the board, following the outline of the leaf. Place the nails about ½” apart.

Once the entire leaf is filled outlined, lift the template away from the board, to rip the paper off.

Hammer more nails around the outside of the board, about ½” apart, all the way around.

Tie a thread to a nail on the outside of the board. Start winding the thread between nails, going back and forth multiple times, until it starts to look full. Remember to wrap a thread around the leaf pattern, leaving the leaf empty. Doing so will help outline and highlight the leaf shape.
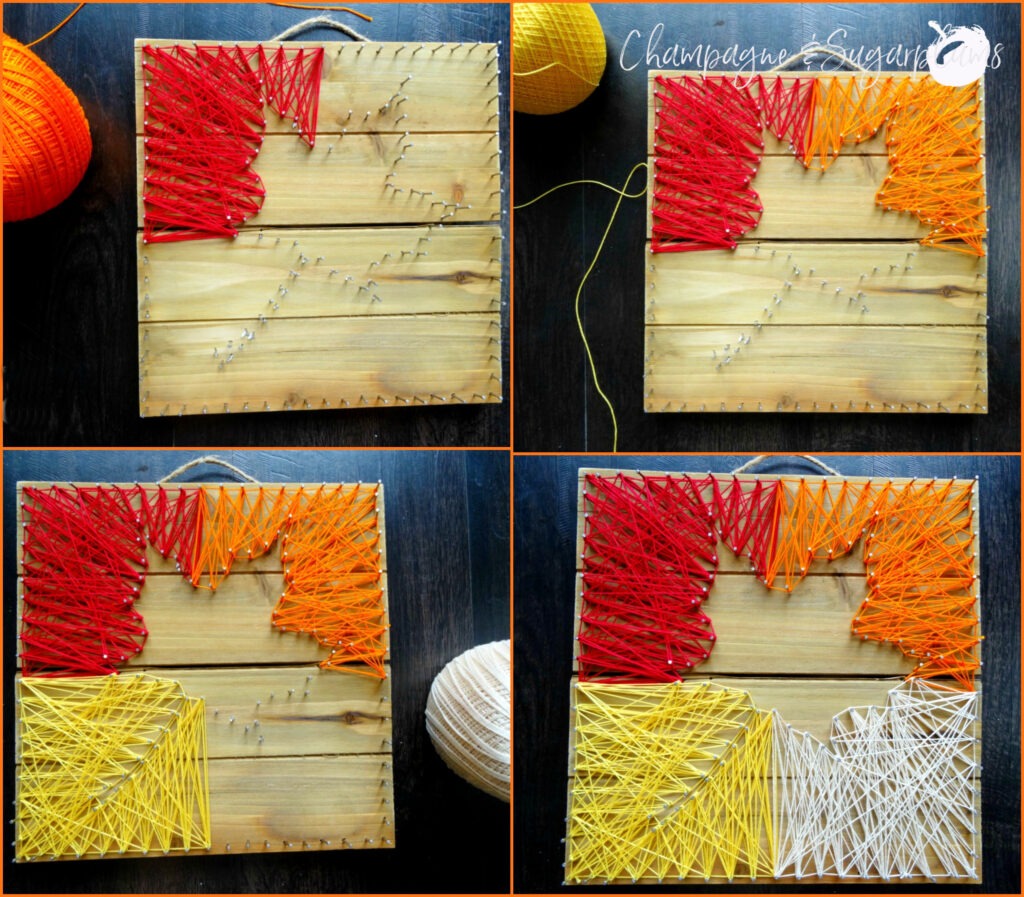
Change thread colours to make each corner a different colour. Finally, tie off the ends tightly on an outside nail to secure the threads.


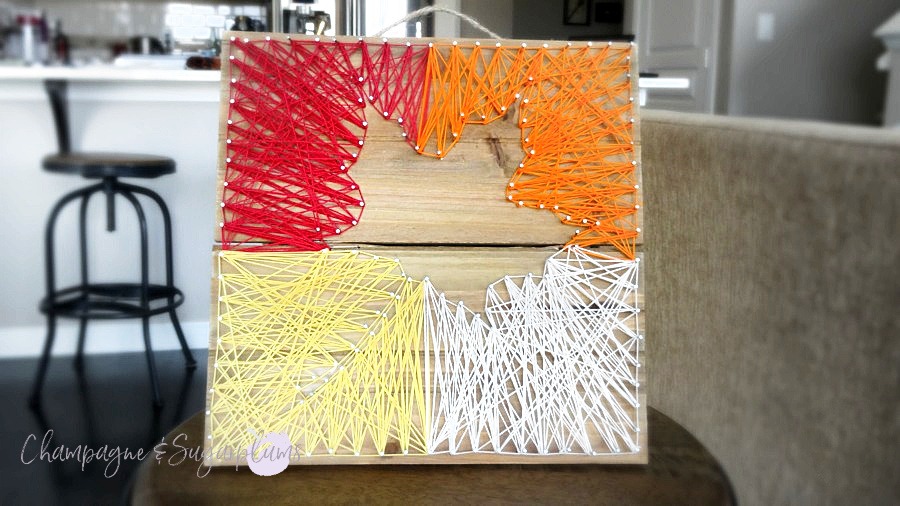
We hope you love this engaging leaf string art and hope you have an amazing Thanksgiving weekend! For more Thanksgiving DIY check out our Stamped Thanksgiving Napkin Rings and Rustic Painted Pine Cones and Acorns.