Thanksgiving Tissue Paper Garland
Today we’re sharing an easy DIY for a beautiful Thanksgiving decoration – a Tissue Paper Garland! There’s still a few weeks of hot summer weather to go, but sweater weather is coming and it’s never too early to start crafting for Fall.
This blog post may contain affiliate links. What does that mean? We may get a small commission if you make a purchase using our links, which helps us to keep posting new holiday content every week.
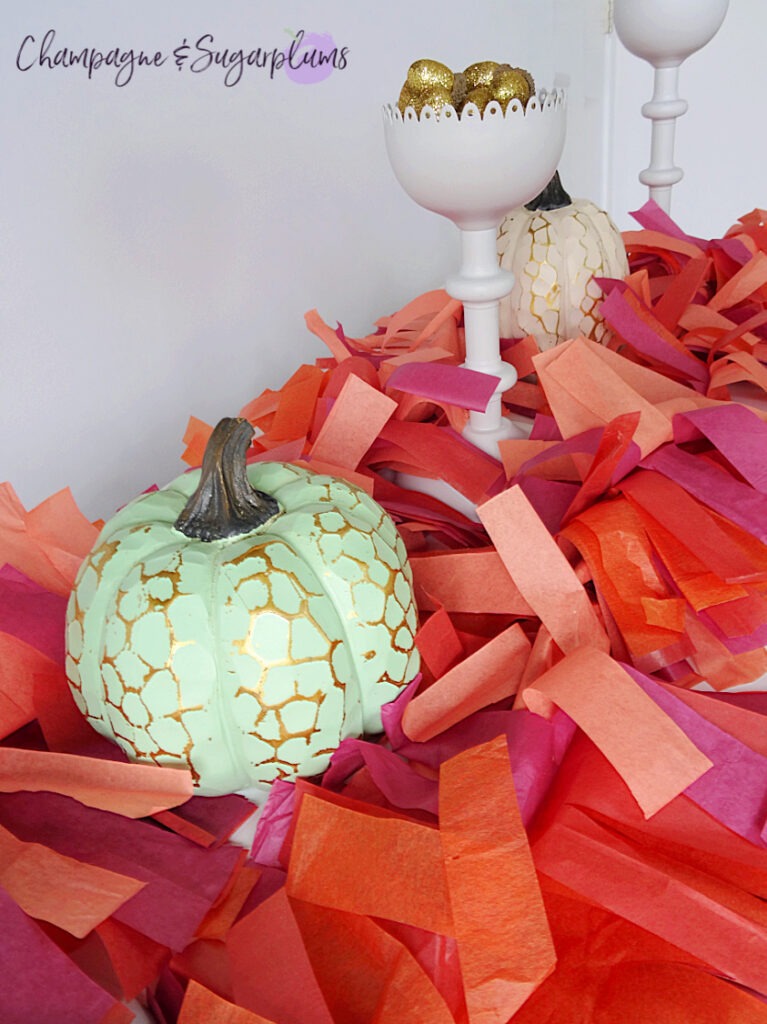

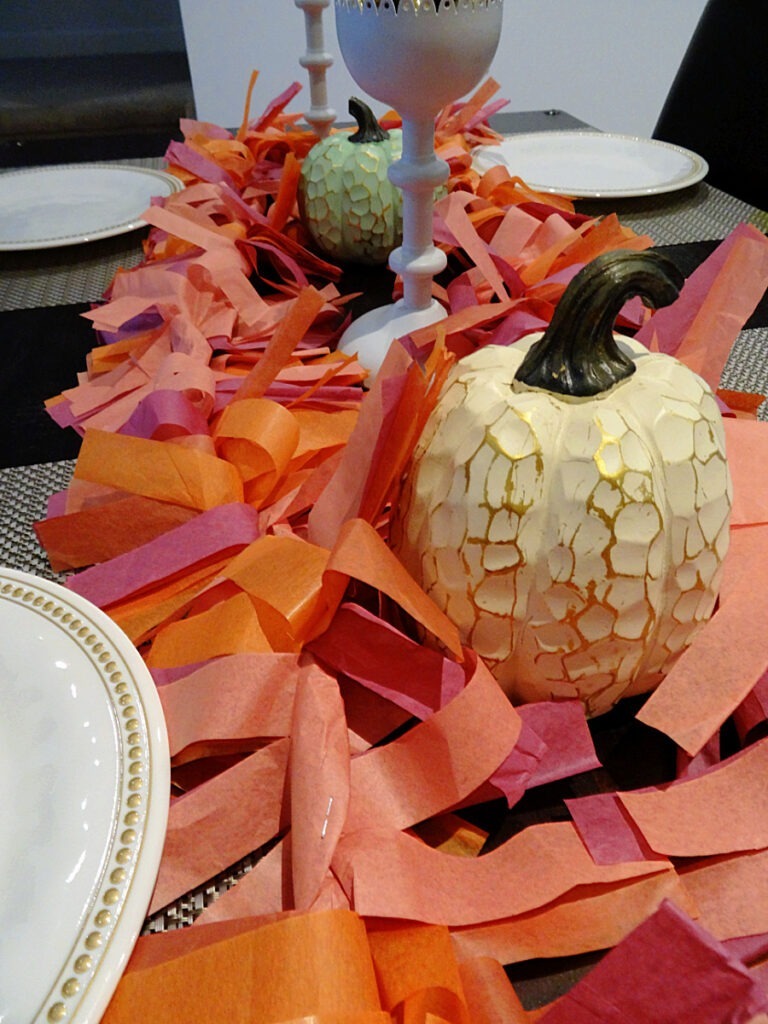
You’ll only need three supplies, which can all be found at the dollar store – tissue paper, scissors, and a stapler. Choose fall coloured paper like oranges, golds, yellows and reds.


What You’ll Need:
- Tissue paper
- Stapler
- Scissors

To start, layer about four or five sheets of the tissue paper on top of each other.

Cut the tissue paper in half lengthwise, to get two sets of long rectangles.

Take one of the rectangle piles and fold it in half.

Make cuts in the tissue paper along the unfolded edge – be sure not to cut all the way through the fold.
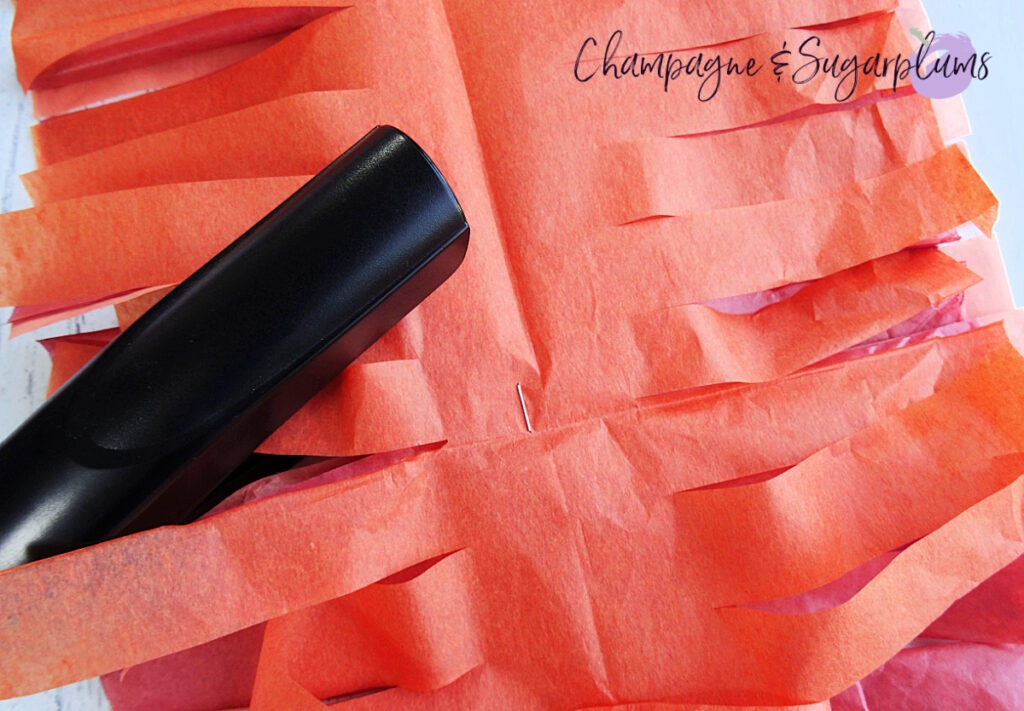
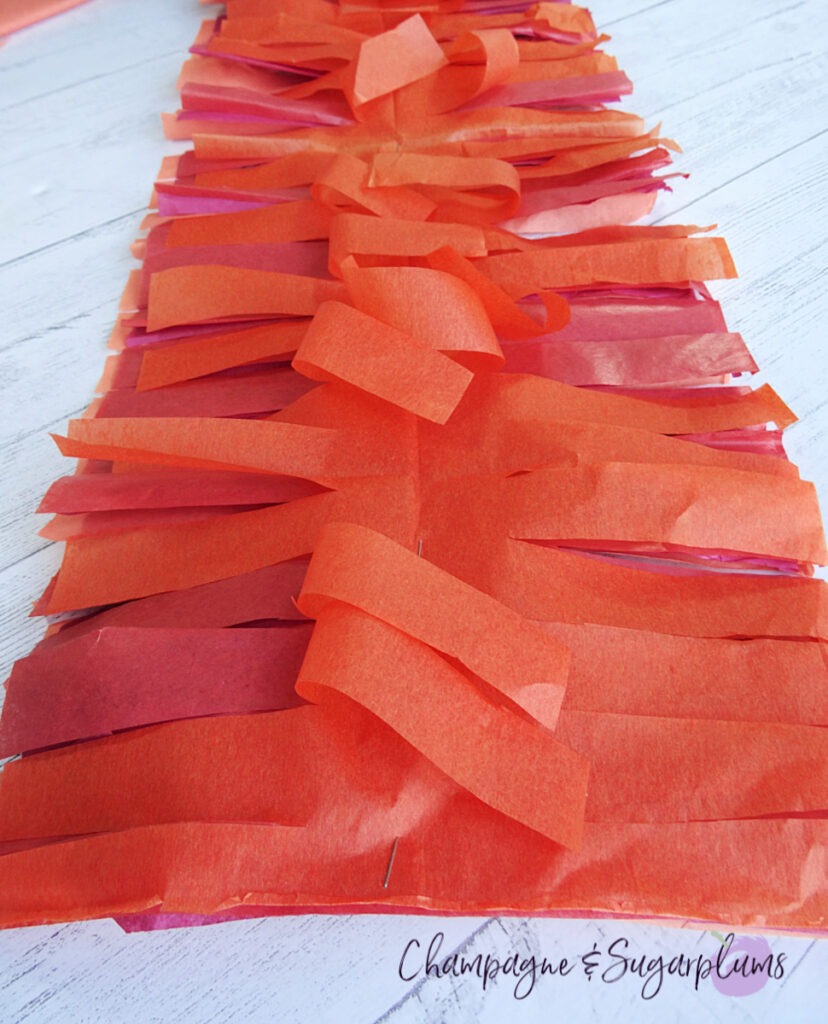
Once you’ve made a fringe, unfold the tissue paper and staple the sheets in a few spots along the fold.
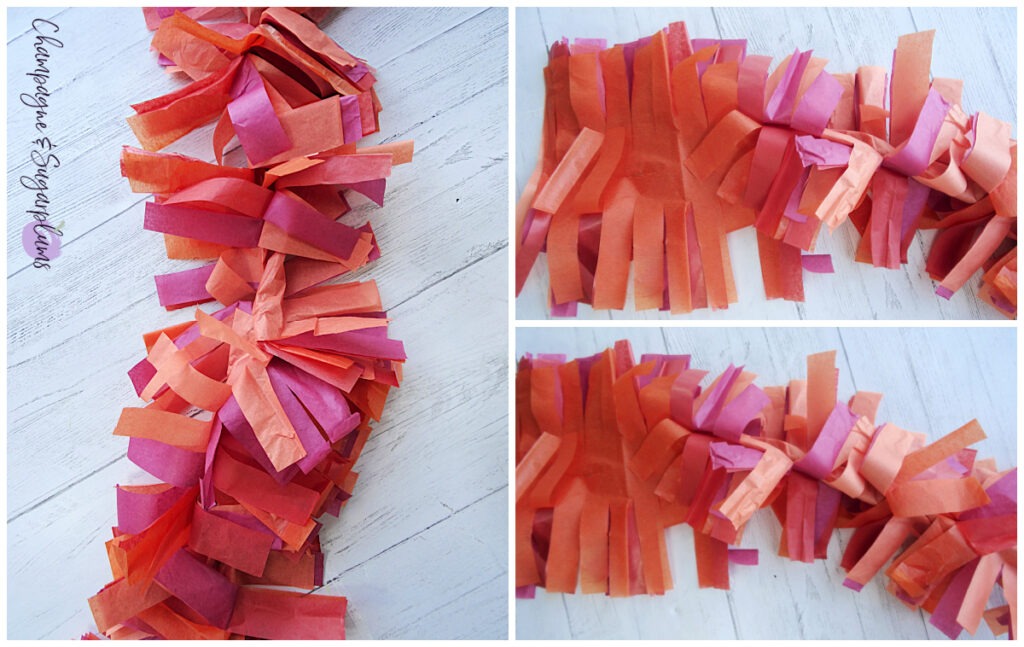
Tightly twist the tissue paper along the fold.
Repeat and then staple strips together to make a long garland or two.
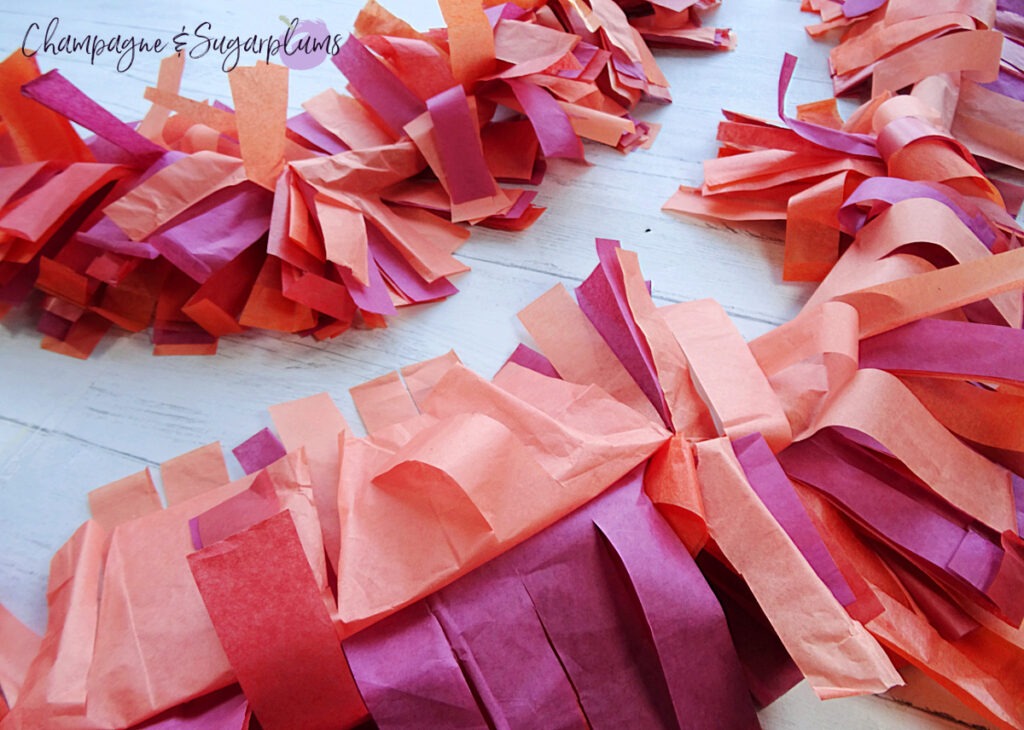
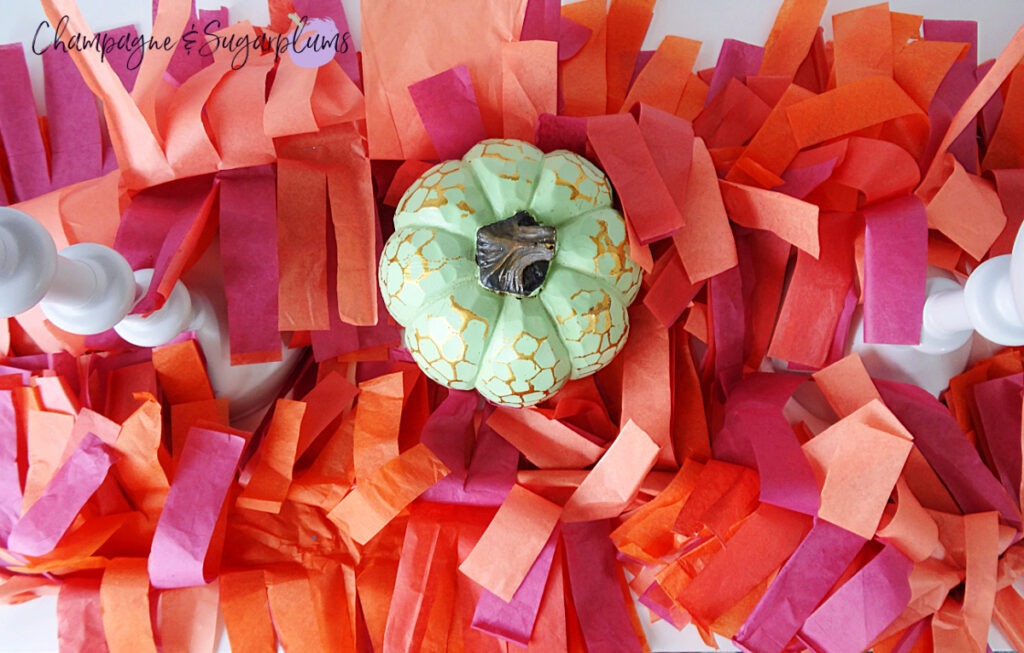
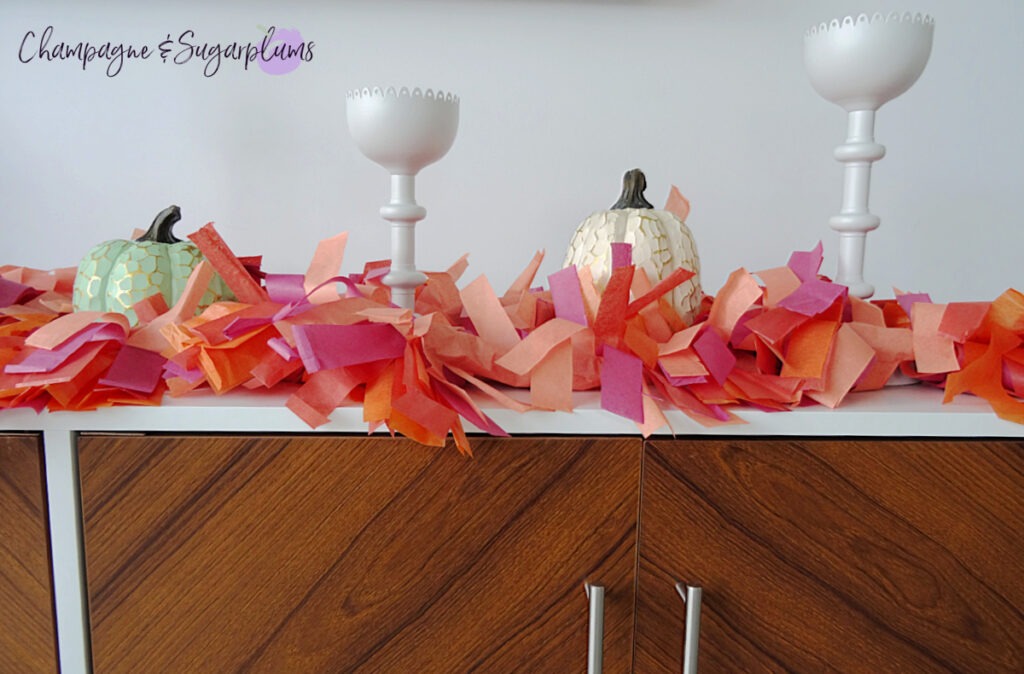
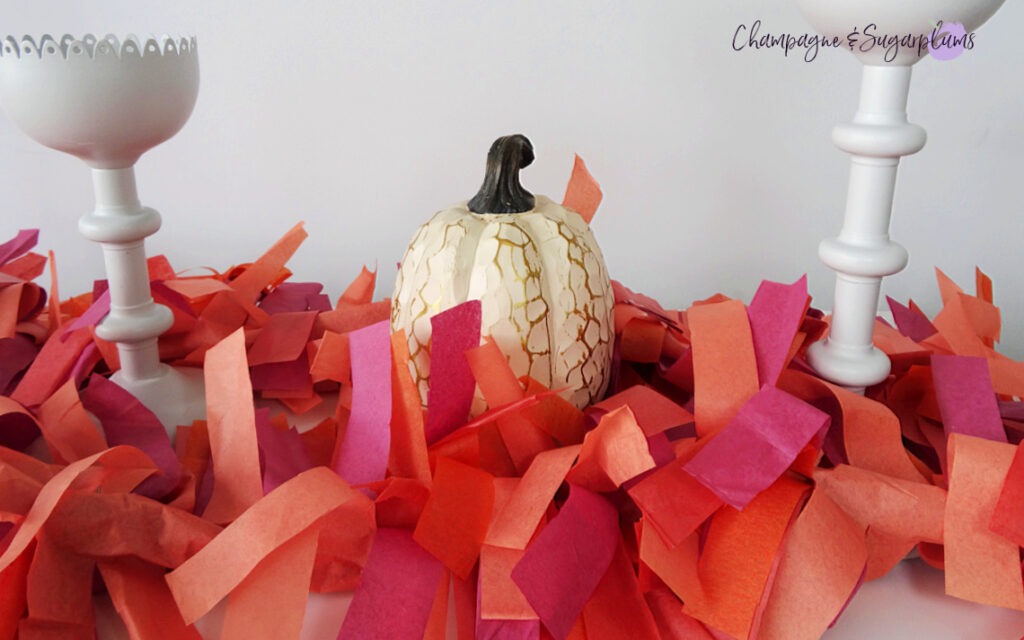
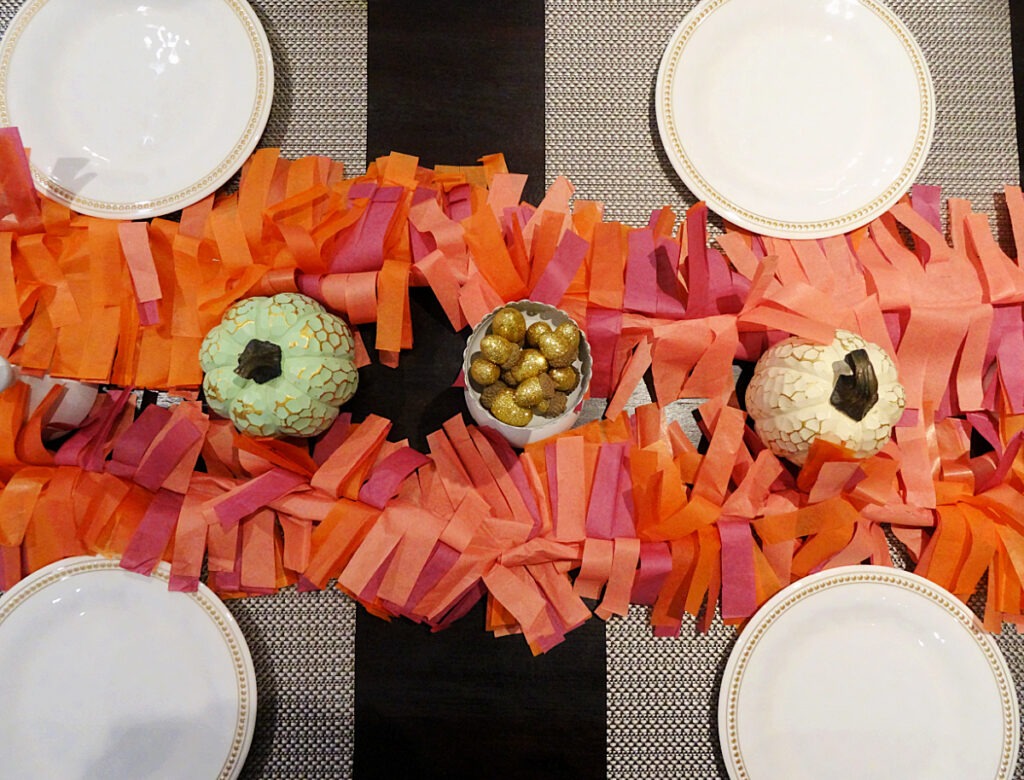
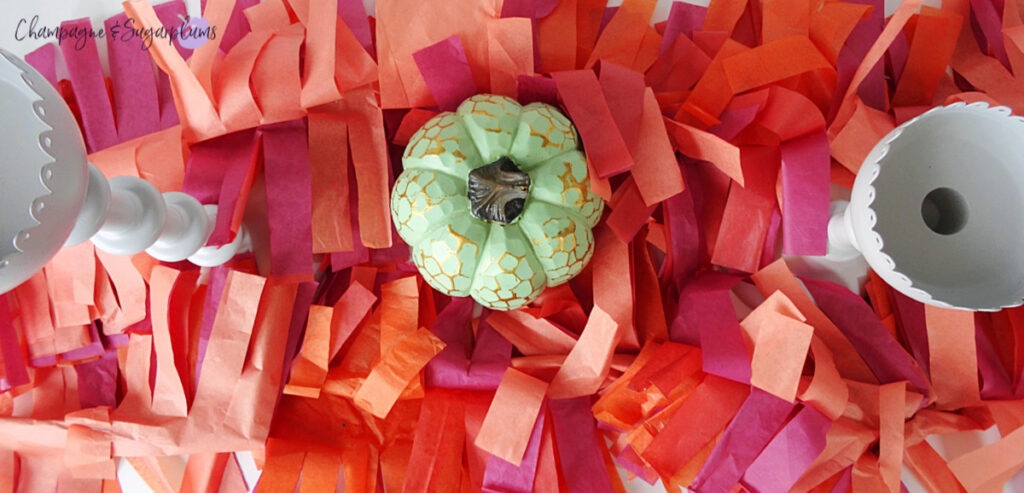
How perfect is this Tissue Paper Garland for Thanksgiving? We made a few of then and displayed some on a hutch, and used some as a centerpiece. It looks great anywhere you use it!


Looking for more Thanksgiving inspiration? Check out our Mini Pumpkin Centrepieces , Cute Kids Turkey Craft, and our Pumpkin Nanaimo Bars.


![Easy Desk Top Organizer [Dollar Store Crafts]](https://www.champagneandsugarplums.com/wp-content/uploads/2022/08/Back-to-School-Teachers-Desk-Top-Organizer-by-Champagne-and-Sugarplums-Title-2-75x75.jpeg)
You May Also Like
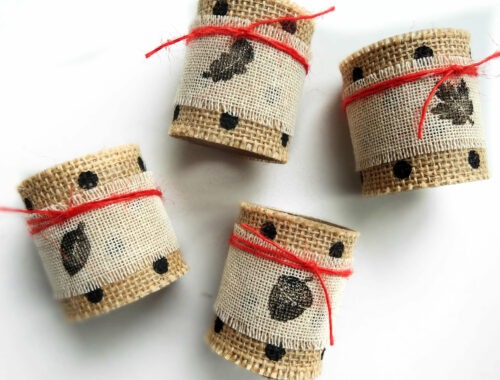
Stamped Thanksgiving Napkin Rings
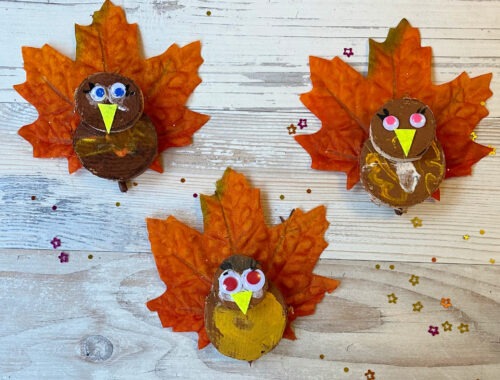
Cute and Fun Turkey Craft Idea for Kids