Summer Long Weekend Craft Idea – Kids Butterfly Craft
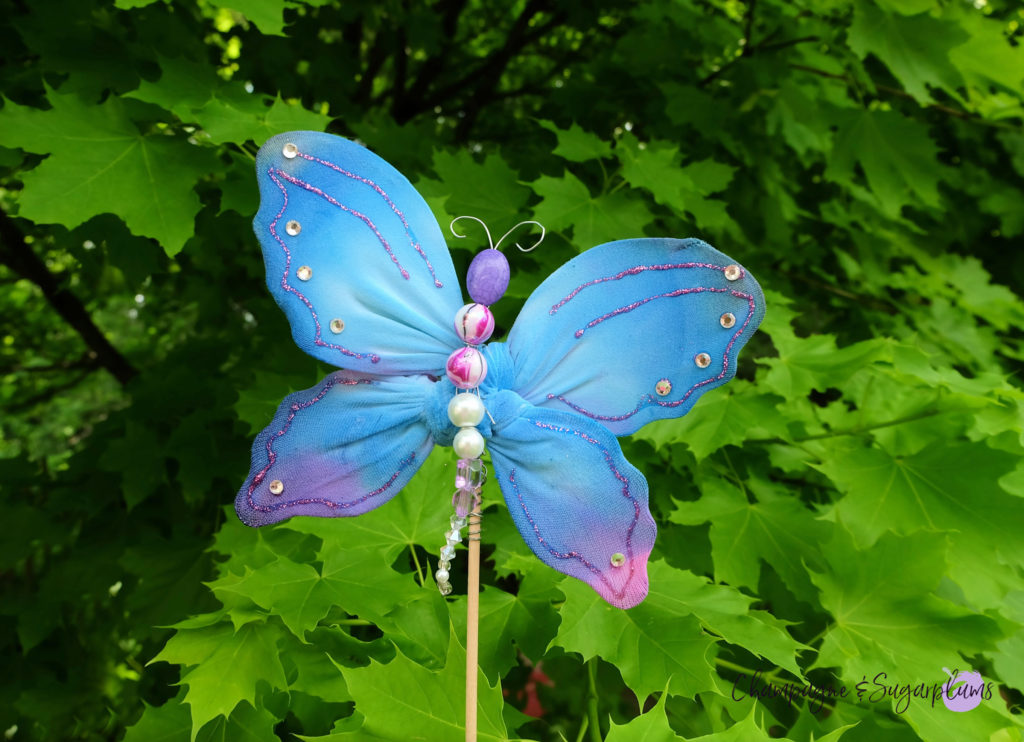
This week we are bringing you an awesome long weekend kids craft idea– A Kids Butterfly Craft! Although a little messy, this craft is fun and easy. You’ll need some wire, a pair of old stockings, food colouring and some beads. Once you have your materials, settle in for some long weekend crafting fun!
This blog post may contain affiliate links. What does that mean? We may get a small commission if you make a purchase using our links, which helps us to keep posting new holiday content every week.


For this awesome kids craft we used gel food colouring mixed with water to dye the wings and some glitter glue and jewels to make our butterflies shine. You can use any kind of decoration for the wings – pom-pom’s, sequins, glitter or pipe cleaners. Once you’ve finished, send us a picture of your butterfly! We always love to see what our fellow crafters have created.
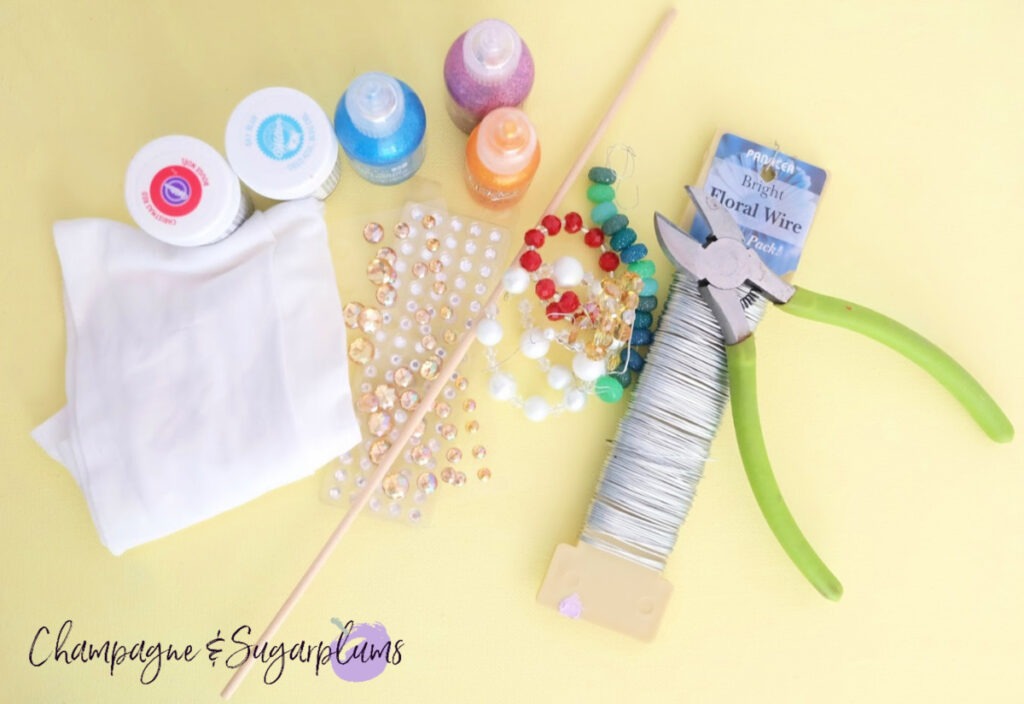
What you need to make a Butterfly Kids Craft:
- Floral wire (one sturdy enough to hold the wing shape)
- 2 pairs of stockings (the smaller the better, such as 0-3 month size)
- Wooden doweling
- Food colouring (gel works best)
- Water
- Beads (of varying sizes)
- Glitter glue
- Embellishments (like sequins, jewels etc)
- Wire cutters
- Scissors
Firstly, measure and cut the floral wire. You will need two pieces – one for the top pair of wings and the other for the bottom. The size will depend on how big you want your wings to be. We used two 18 inch lengths. Using the wire cutters, shape the wire into a wing shape.

Summer Long Weekend FUN!!

Cut the feet off of the stockings, you will need one foot for each wing. When cutting be sure to leave a longer bit of material attached; this will aid in attaching the stocking to the wire wings. Stretch the stocking feet over the wire wings and tie them to secure.
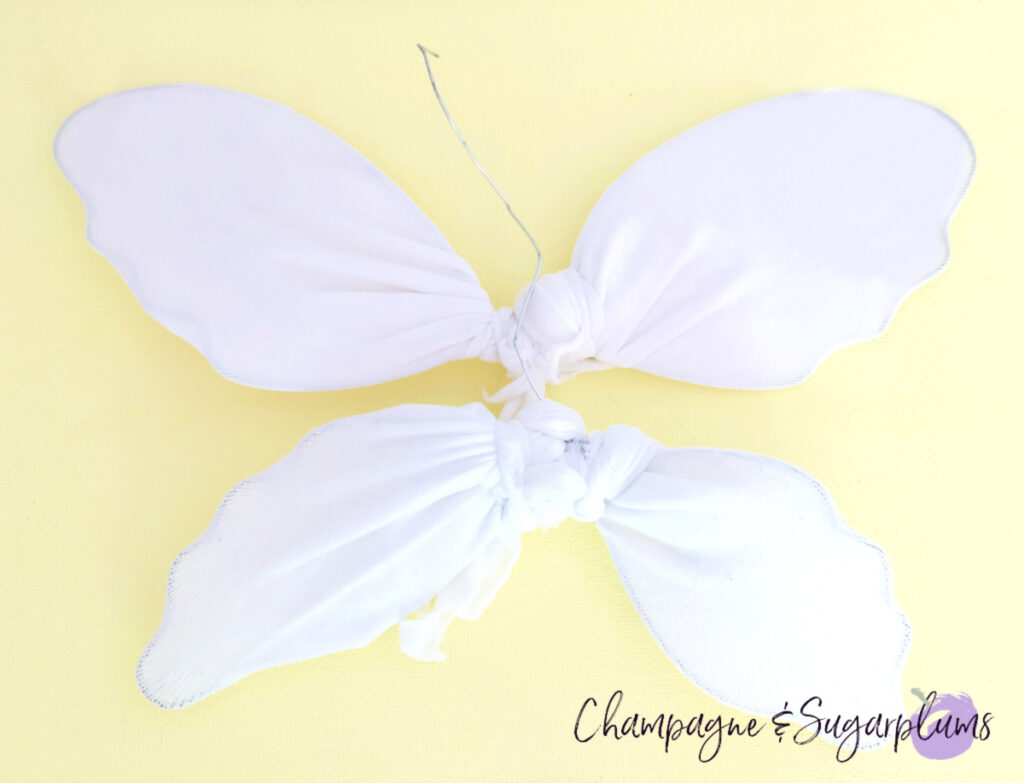
Cut another piece of wire about 6 inches long. This will be used to attach the bottom wings to the top. Wrap it around the middle until they are secure.

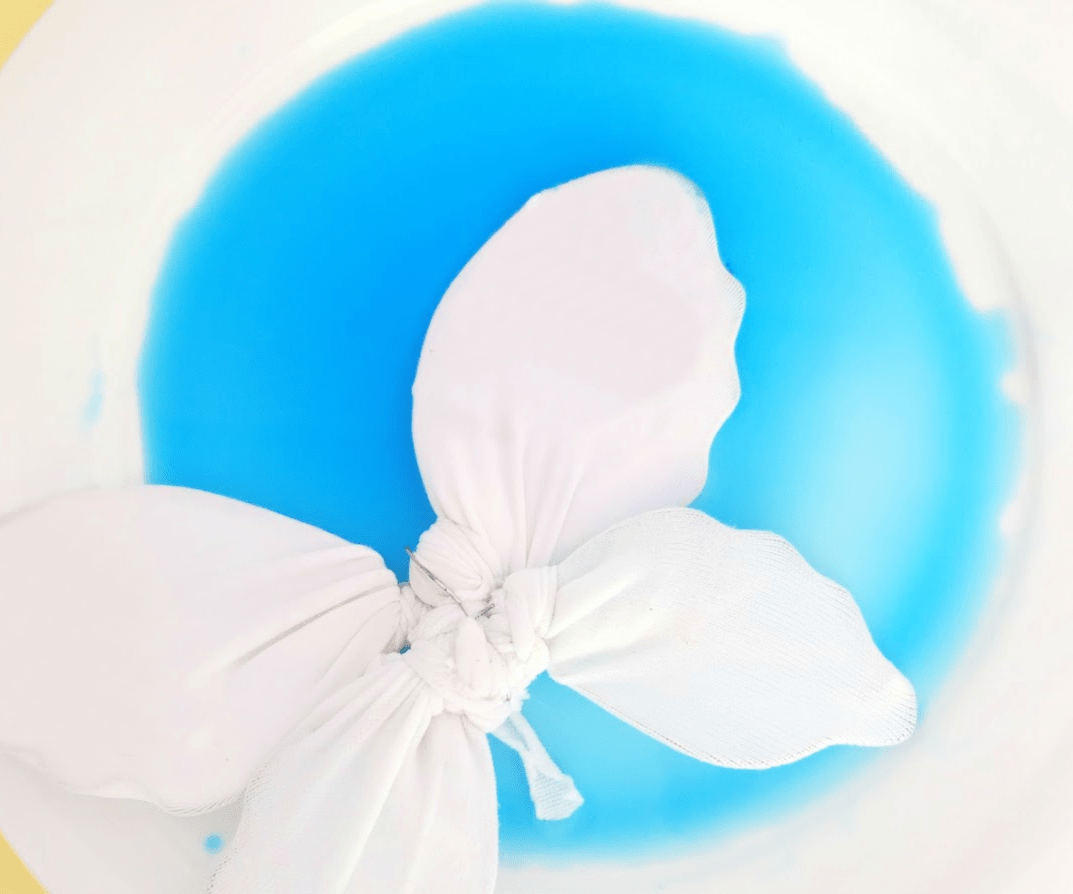
Mix the food colouring with water and place the butterfly in, letting it sit for several minutes. When the butterfly is fully saturated remove and and set it down to dry.

To create the body you will need a piece of wire that is long enough for the beads, plus some extra room to make the antennae. We used a 9 inch piece. When threading your beads, place the smallest on the bottom and work your way up to the biggest to make the head. Add a second piece of wire to create the second antennae by threading it through the top bead and wrapping it around.

When your wings are dry, add your jewels, glitter glue designs and sparkles! Now is the time to make your butterfly unique.
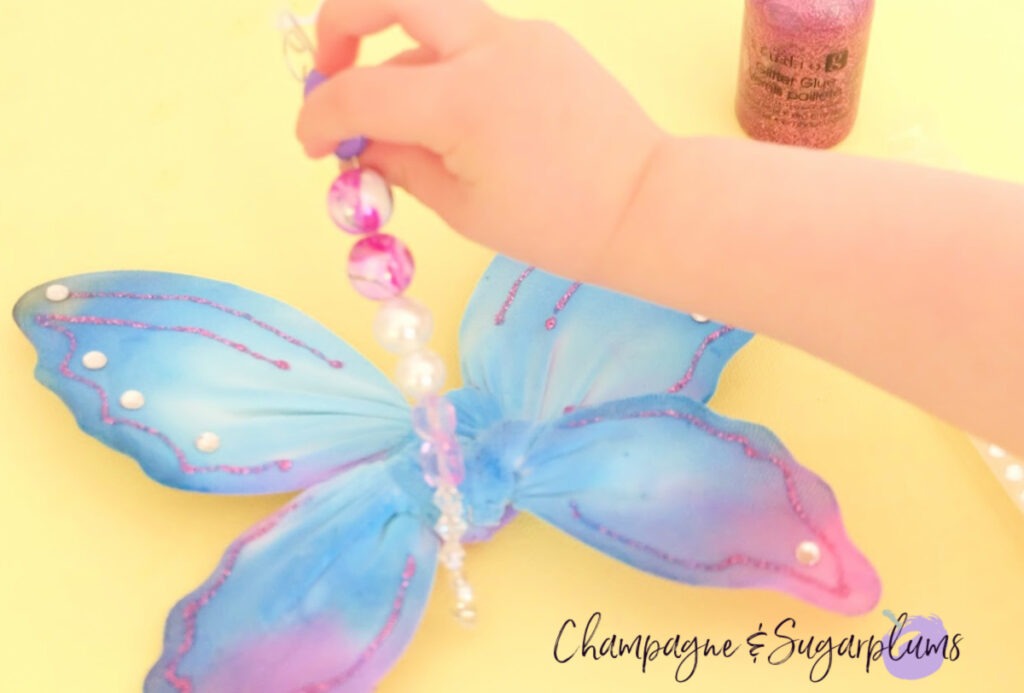
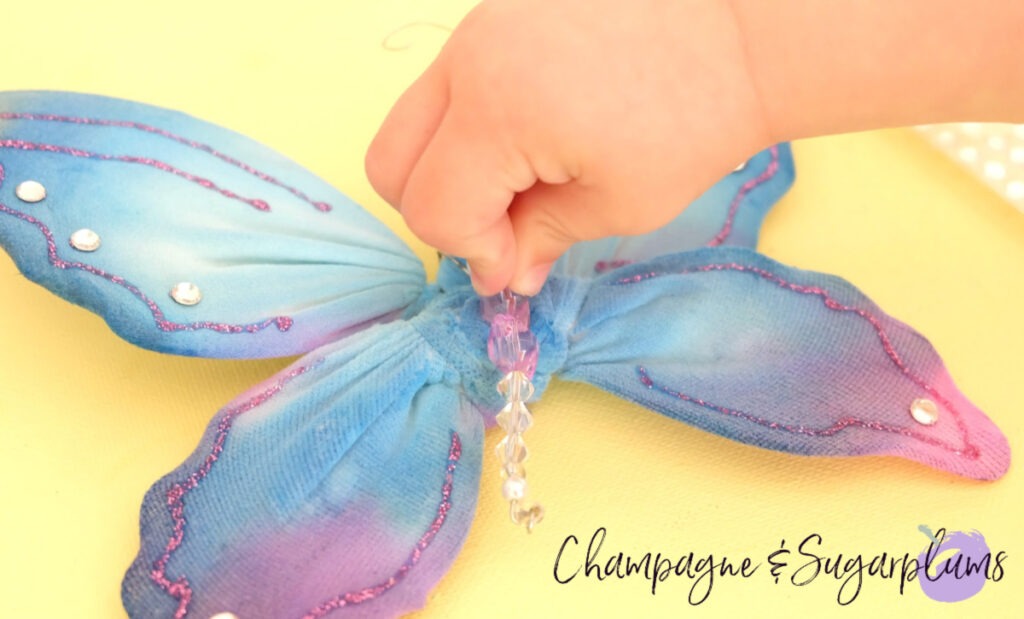
Attach the body to the butterfly using piece of wire, making sure it is secure. Leave a double thickness piece of wire on the back of the butterfly. This will sit inside the coiled piece we will make next.
Summer Long Weekend Craft Idea – Kids Butterfly Craft
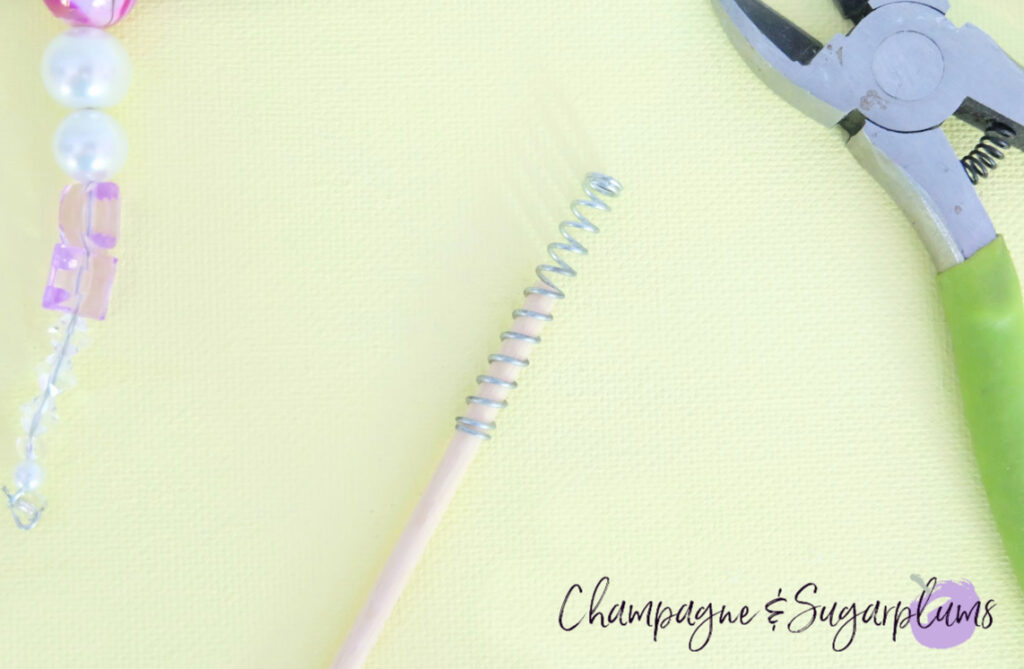
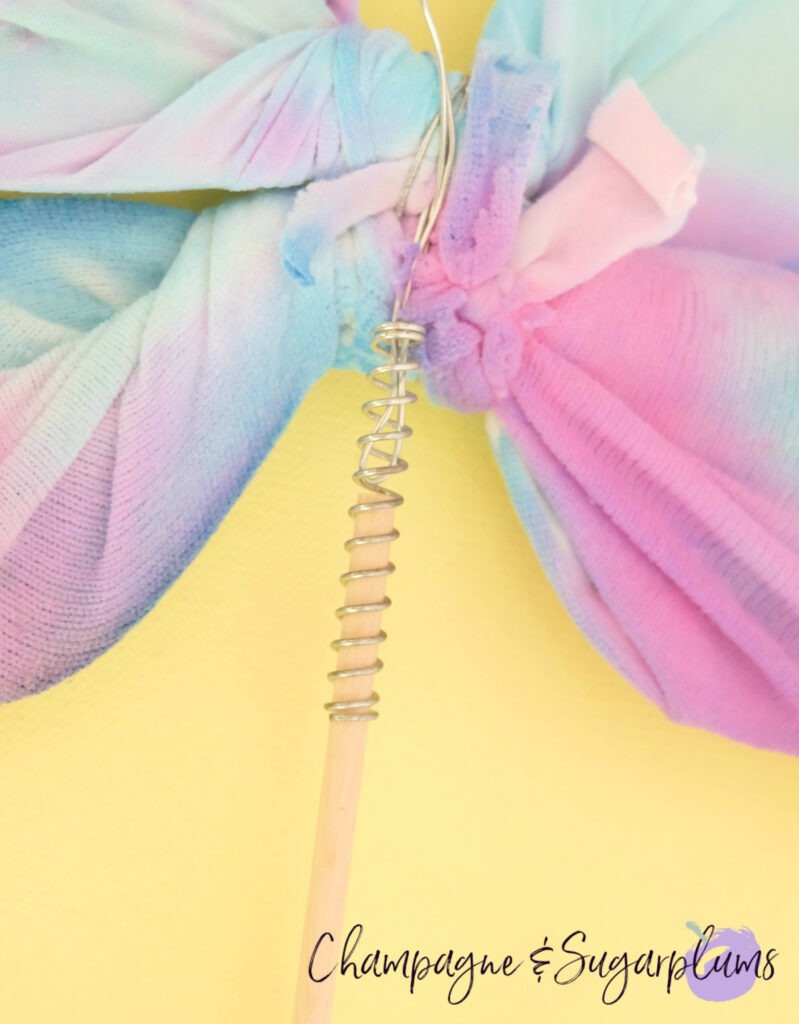
Finally, attach the butterfly to the wooden doweling using yet another piece of wire. Use a 9 inch piece of wire and wrap it around the doweling tightly. Then use the doubled wire on the back of the butterfly to attach them together. Again, be sure they are secure.
Voila!
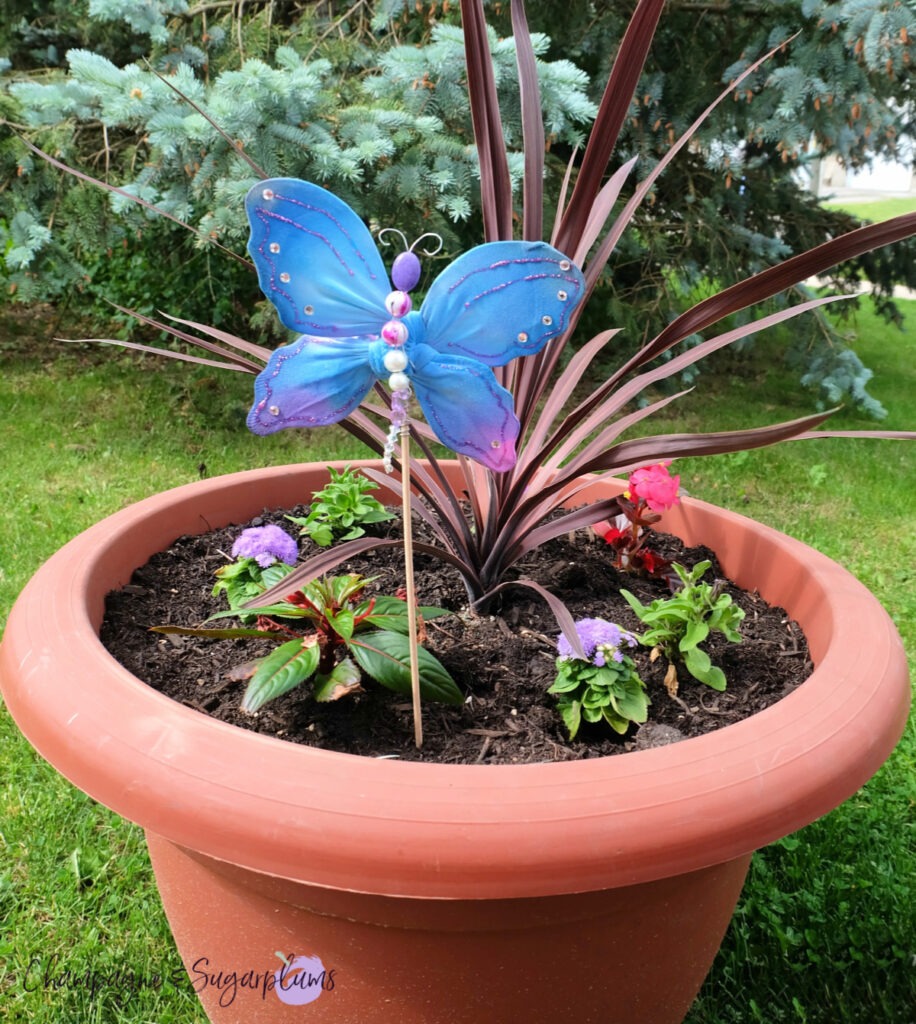
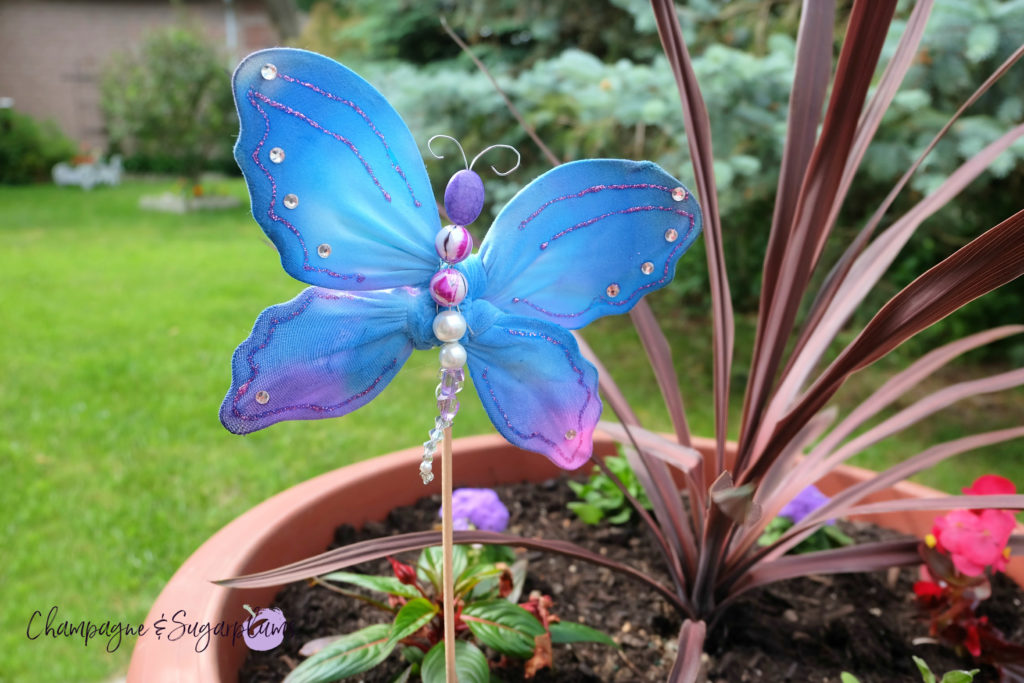
We hope you loved this Summer Long Weekend Craft Idea – Kids Butterfly Craft as much as we did. Looking for more summer long weekend kids craft ideas? Check out our Beaded Wind Chimes Kids Craft. Happy Crafting!


