St. Patrick's Day

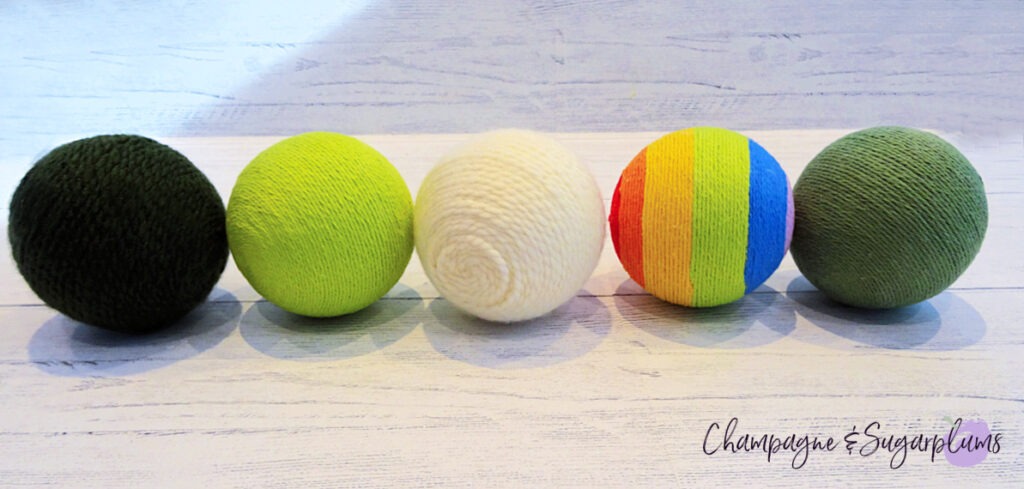
How To Make Yarn Wrapped Green Balls

Our Mom is big into knitting and crocheting. She’s amazing at both, and our babies have definitely benefited! Over the years, she’s made some really beautiful handmade pieces for us – like blankets, hats, booties, and sweaters that we really treasure. So, using Mum’s favourite hobby as inspiration, (though neither of us ever leant how to knit) we created some Lucky Green Balls for this St. Patrick’s Day.

This blog post may contain affiliate links. What does that mean? We may get a small commission if you make a purchase using our links, which helps us to keep posting new holiday content every week.

Lucky Green Balls - Styrofoam balls wrapped in varying shades of green in a wood tray by Champagne and Sugarplums

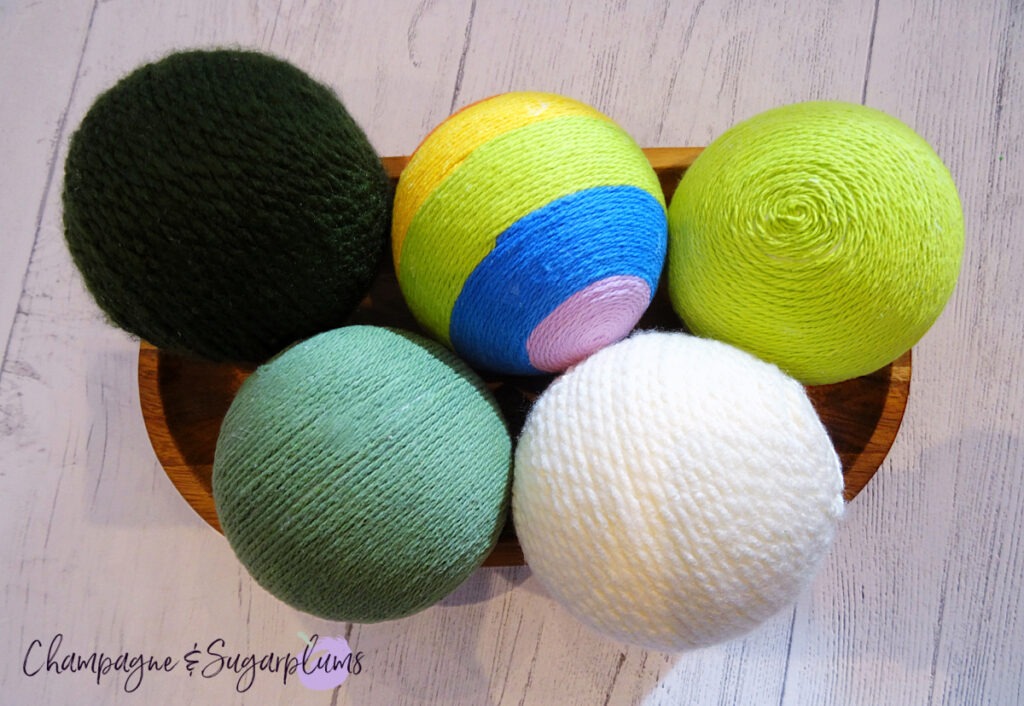
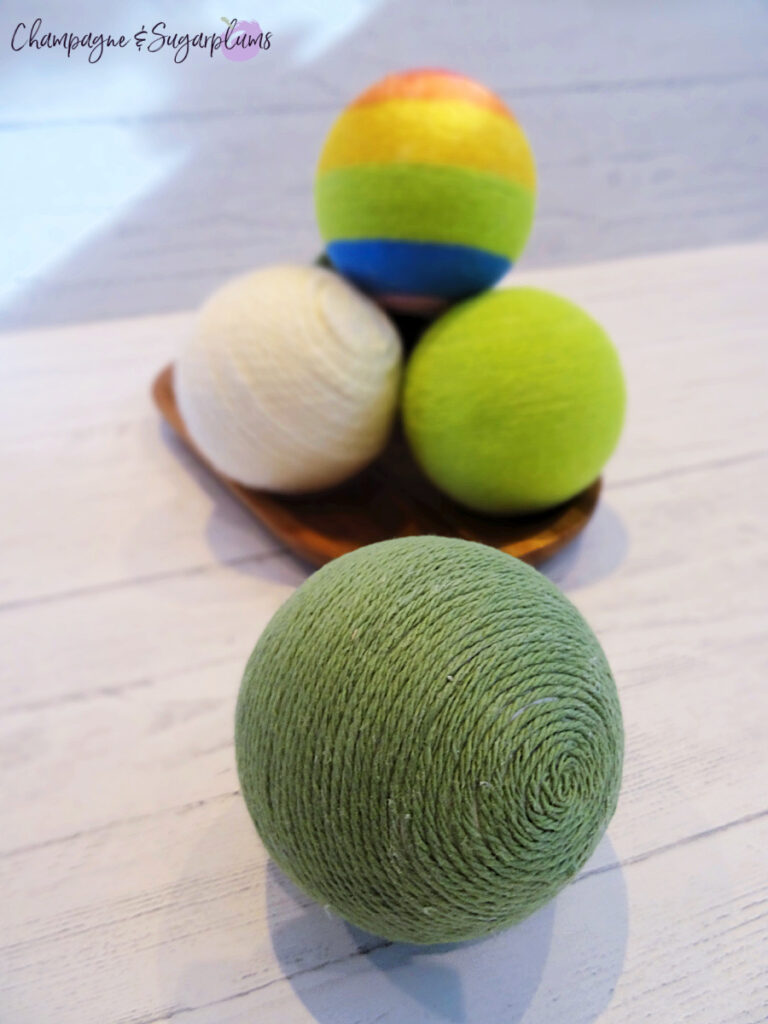
These little decorations are super fun, and surprisingly soothing, to make. There are a few different ways to wrap yarn, and they’re all easy! We like the look of the circular method we used for our balls. But, all the methods really work great, plus they are so, so easy and really inexpensive to put together!

Lucky Green Balls - Styrofoam balls wrapped in varying shades of green in a wood tray by Champagne and Sugarplums

What you’ll need:

  • Styrofoam balls (5 or more, depending on the size you have)
  • Yarn
  • Glue
  • Scissors
  • Optional: Pins, popsicle stick, cotton swab or paint brush

Let’s Make Some Lucky Green Balls!

Adding glue to a  Styrofoam ball on a white background by Champagne and Sugarplums

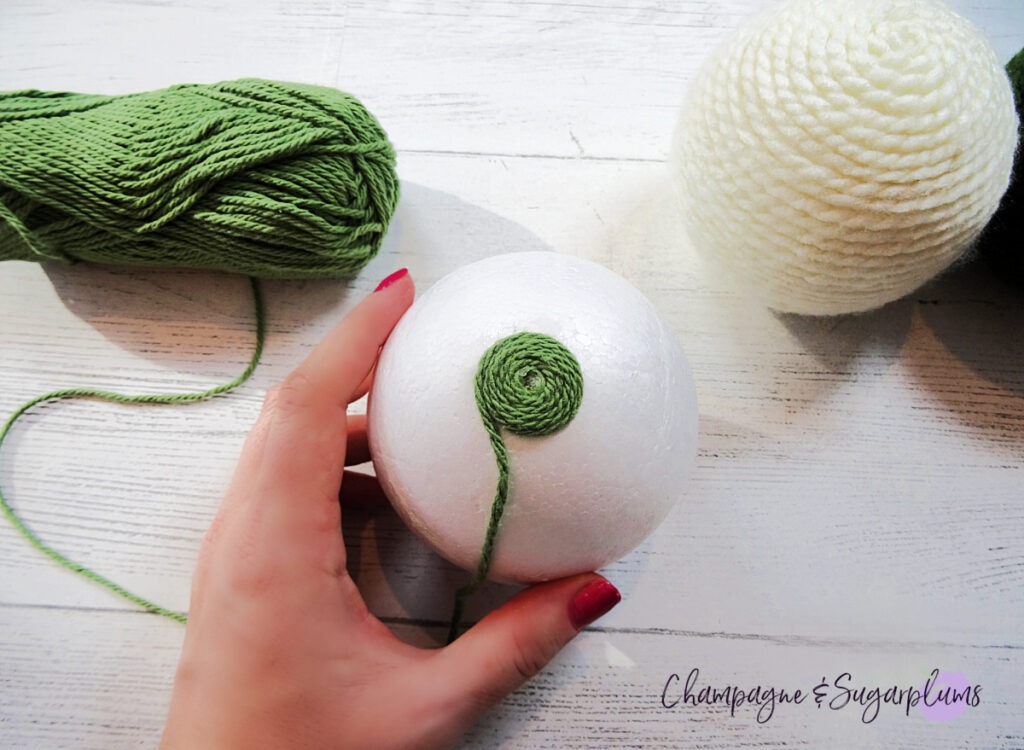
Start with a dollop of glue on the top of one of the Styrofoam balls.

Sticking a pin into dark green yarn on a  Styrofoam ball on a white background by Champagne and Sugarplums

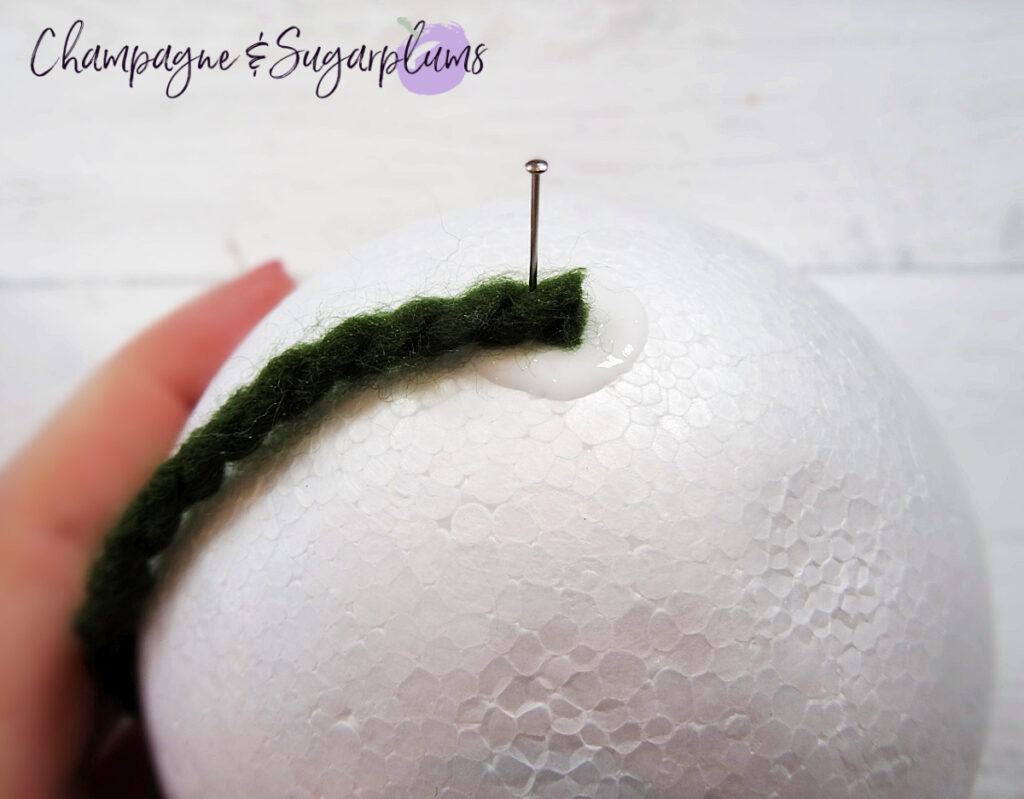
This step is optional – but we found it helpful to add a pin to the yarn to hold it in place while the glue is still wet.

Wrapping dark green yarn around a  Styrofoam ball on a white background by Champagne and Sugarplums

Begin twirling the yarn tightly around itself, sticking it to the glue as you go. Try not to leave any gaps in the yarn.

Wrapping dark green yarn around a  Styrofoam ball and attaching with white glue on a white background by Champagne and Sugarplums

Add glue as you are wrapping to hold the yarn in place.

Wrapping dark green yarn around a  Styrofoam ball on a white background by Champagne and Sugarplums

Wrapping dark green yarn around a  Styrofoam ball on a white background by Champagne and Sugarplums

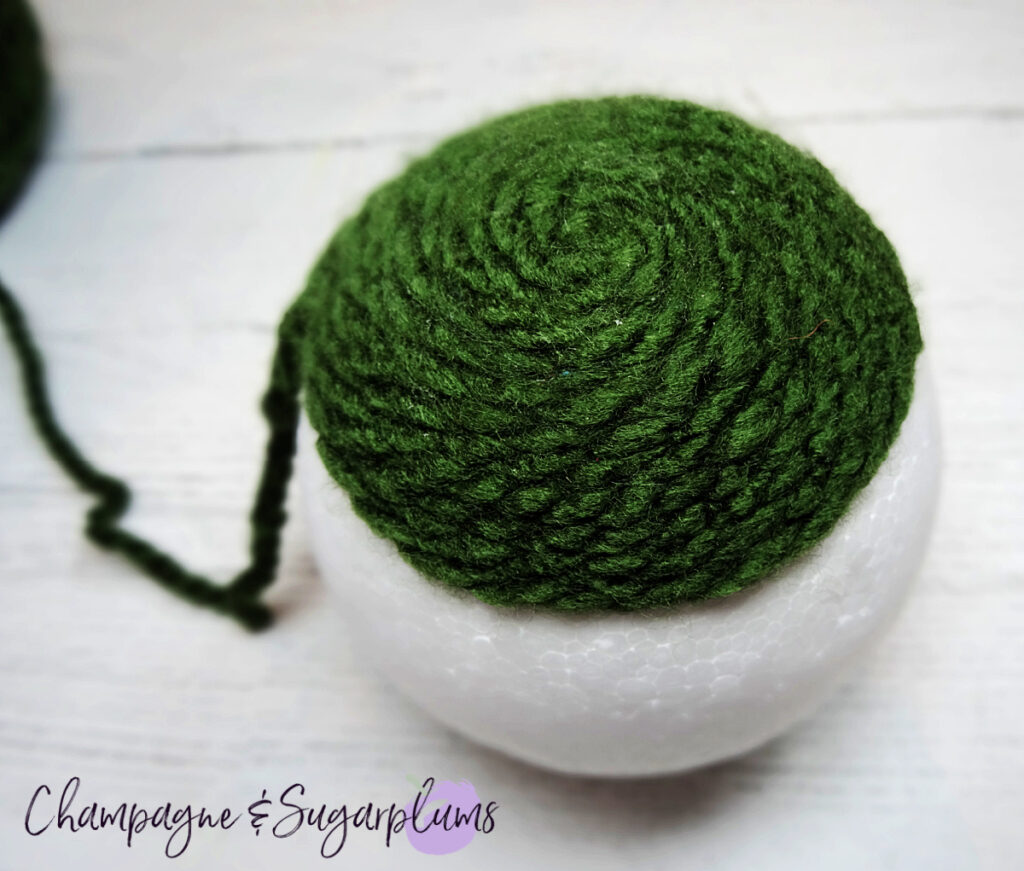
Keep wrapping until the entire ball is covered and then snip the yarn off at the top circle. Wrapping the top of the ball will be a little more difficult, you will need to gently push the yarn to keep any gaps from forming as you go.

A Green and white yarn wrapped Styrofoam balls on a white background by Champagne and Sugarplums

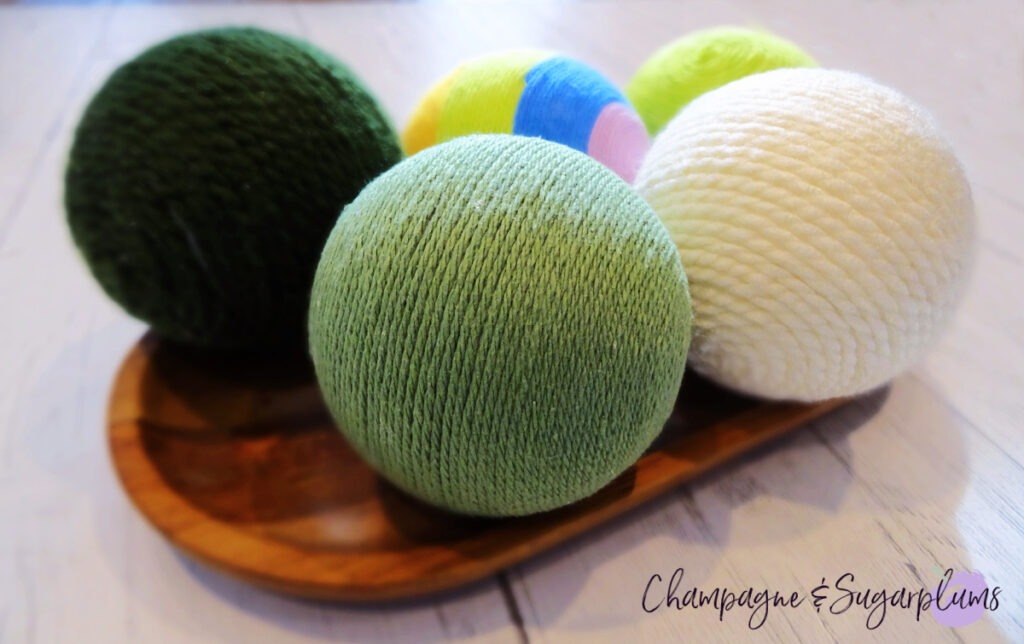
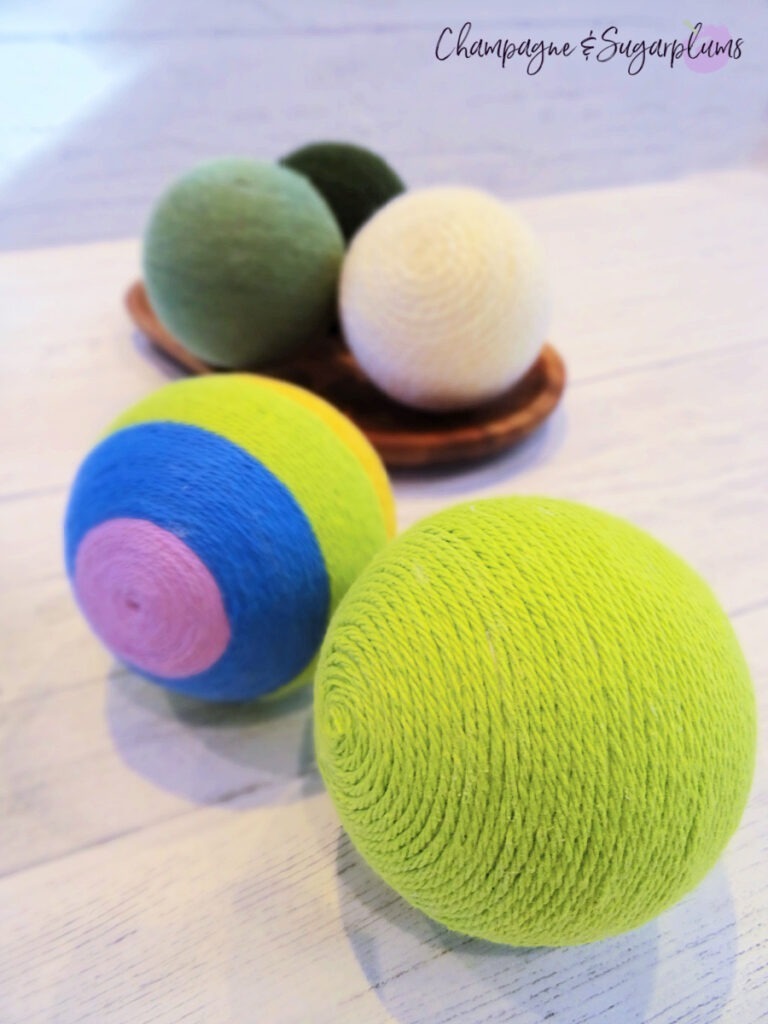
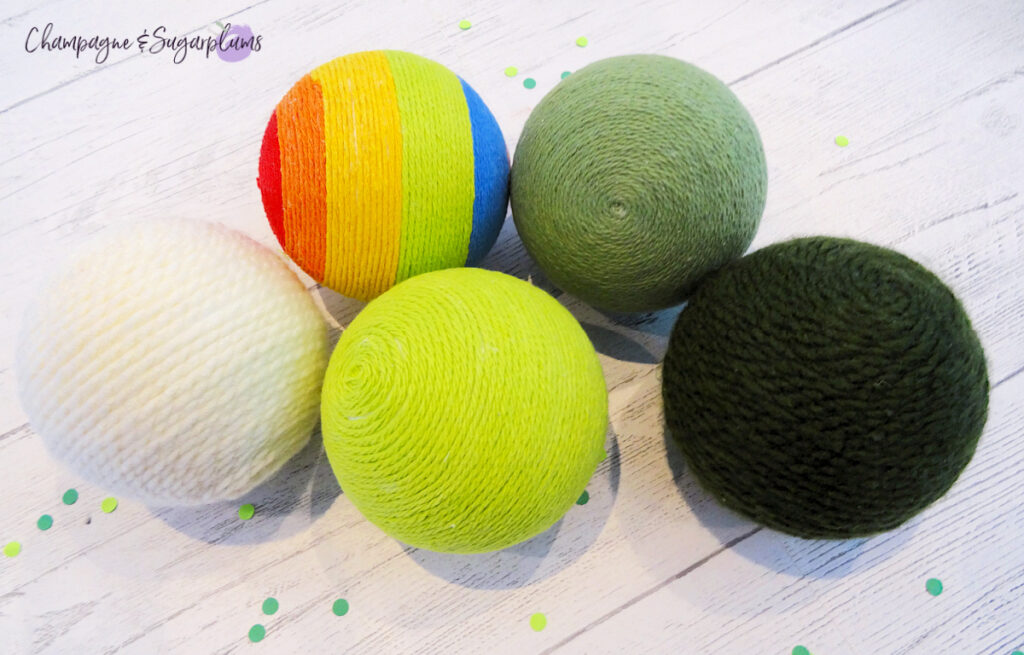
Copy the same steps again with some white or cream yarn.

Wrapping green yarn around a  Styrofoam ball on a white background by Champagne and Sugarplums

And then again with another green yarn. This technique works equally well for both thinner and thicker yarns.

Green and white yarn wrapped Styrofoam balls on a white background by Champagne and Sugarplums

Wrapping lavender yarn around a  Styrofoam ball to make a rainbow on a white background by Champagne and Sugarplums

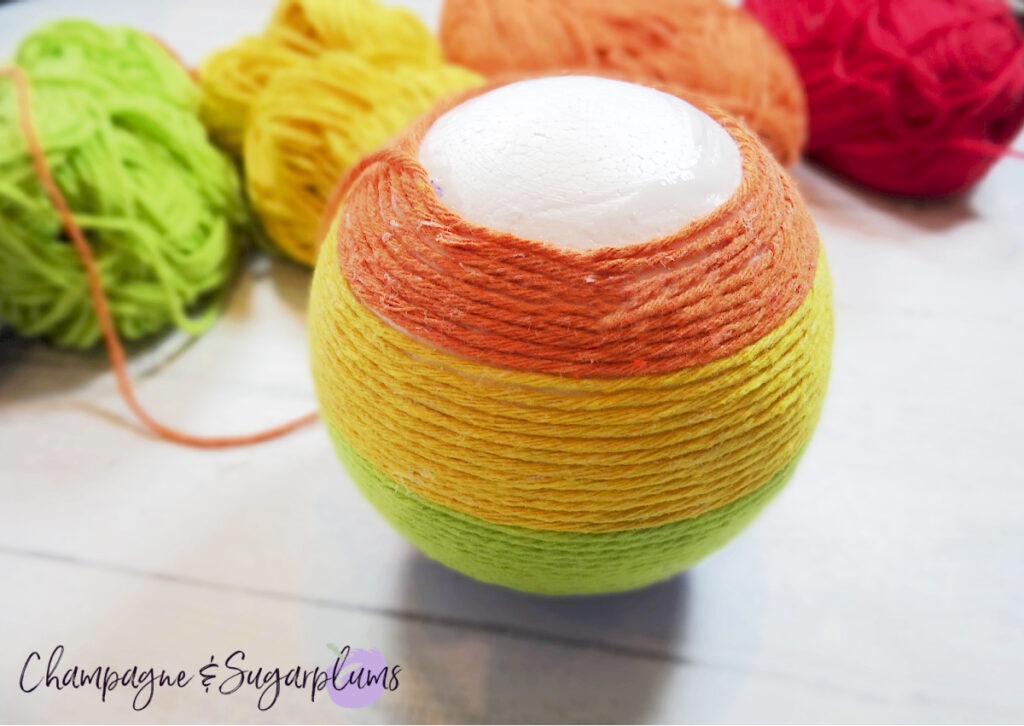
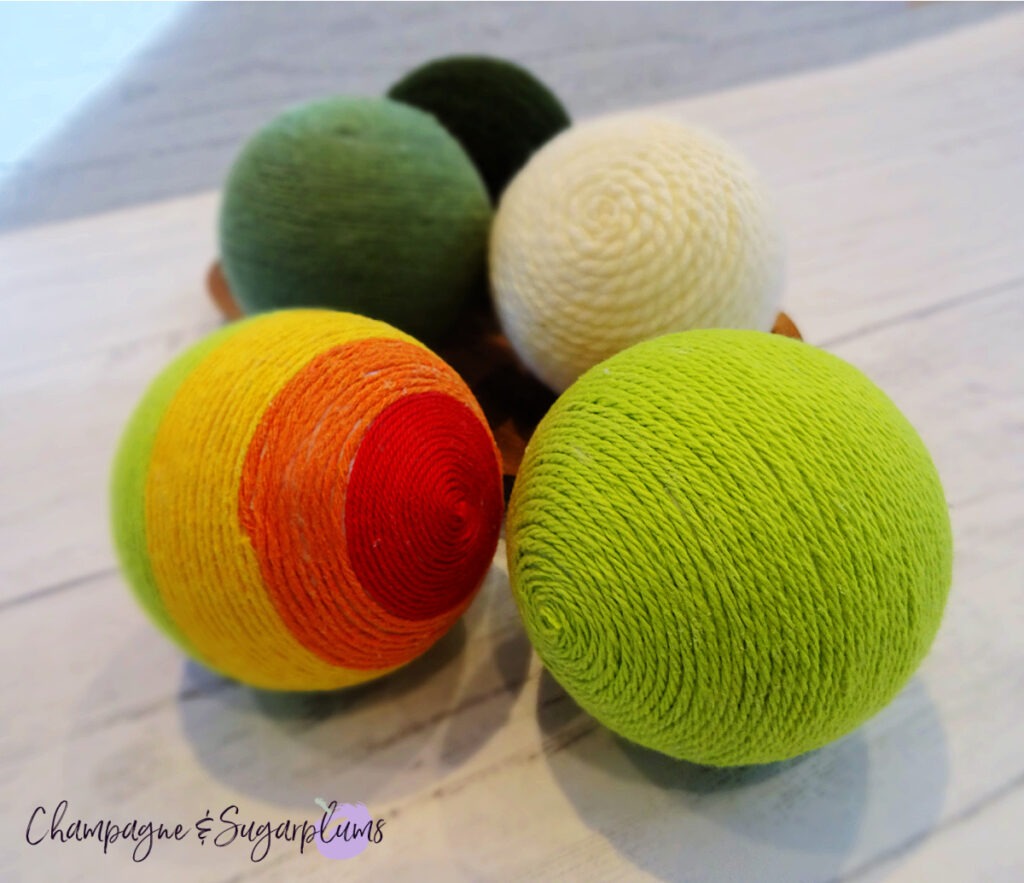
To make our rainbow ball, use the exact same steps as the solid coloured balls. The difference here will be the transition between each colour.

Wrapping blue yarn around a  Styrofoam ball to make a rainbow on a white background by Champagne and Sugarplums

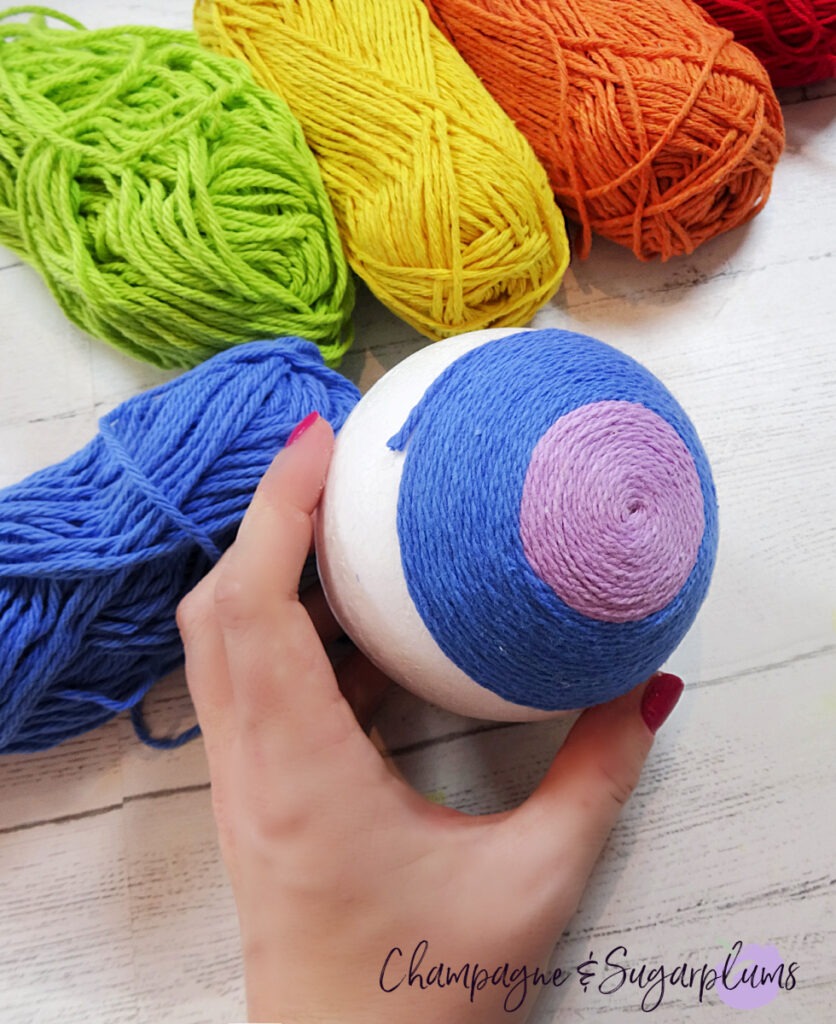
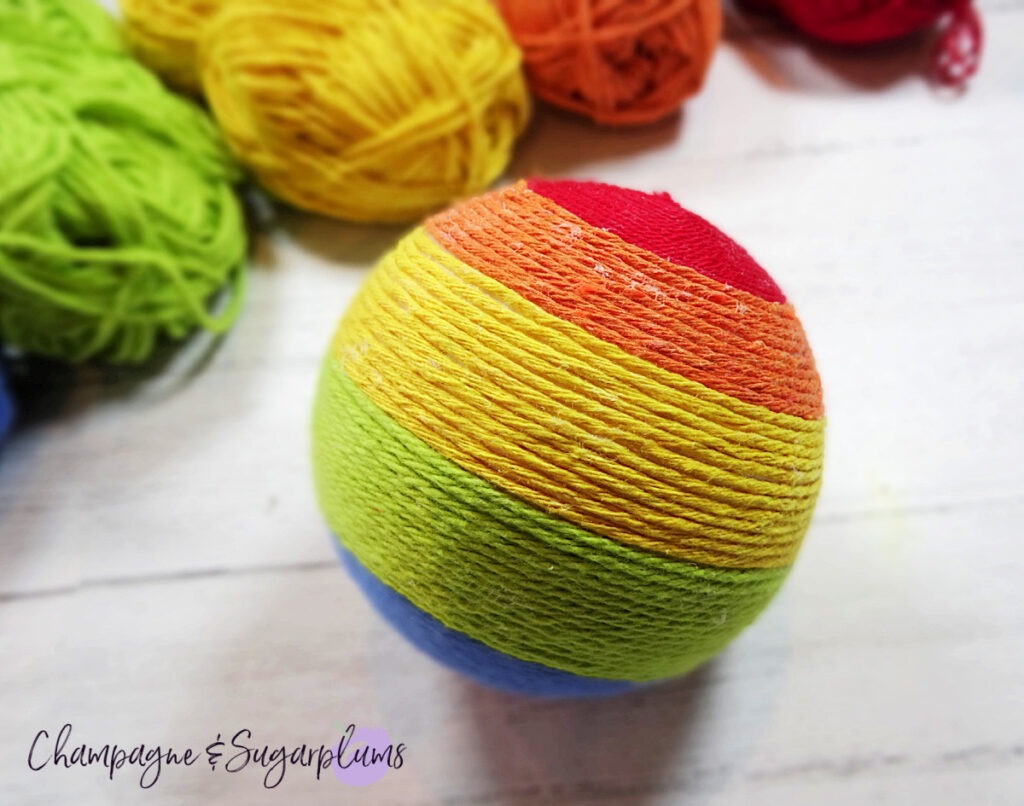
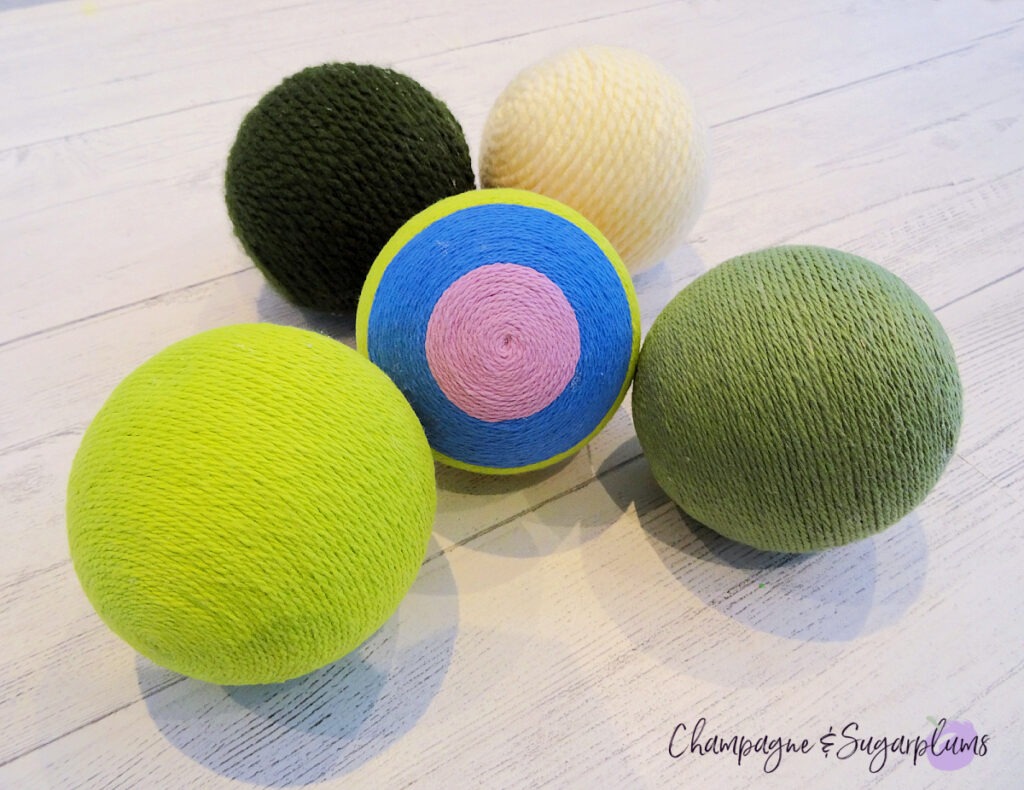
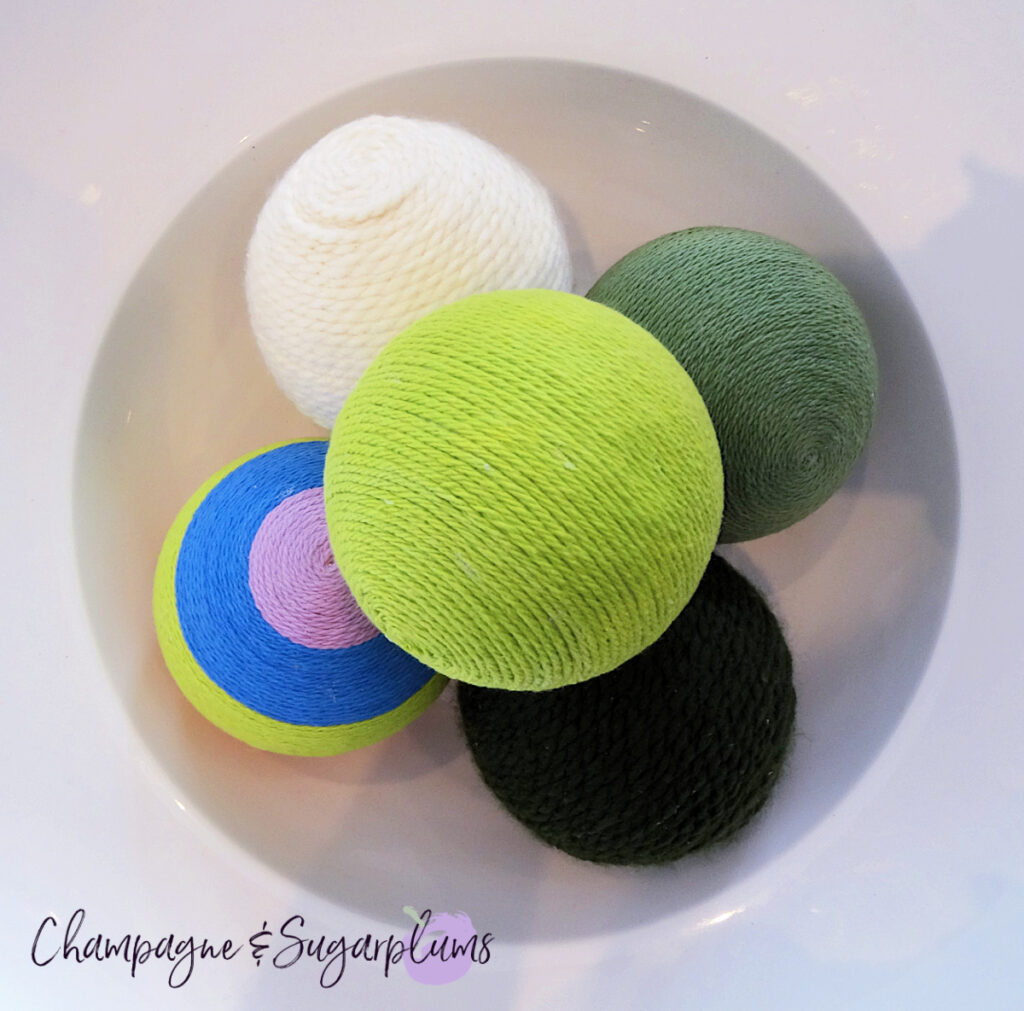
To do this, mark on the ball where you want each colour to end with a pen. Start at the top as usual, using the glue and wrapping the yarn. When you reach the first mark, cut off the yarn and glue the end to the ball. Start the next colour by layering the new colour overtop of the cut end (blue over purple in our example).

Wrapping green yarn around a  Styrofoam ball to make a rainbow on a white background by Champagne and Sugarplums

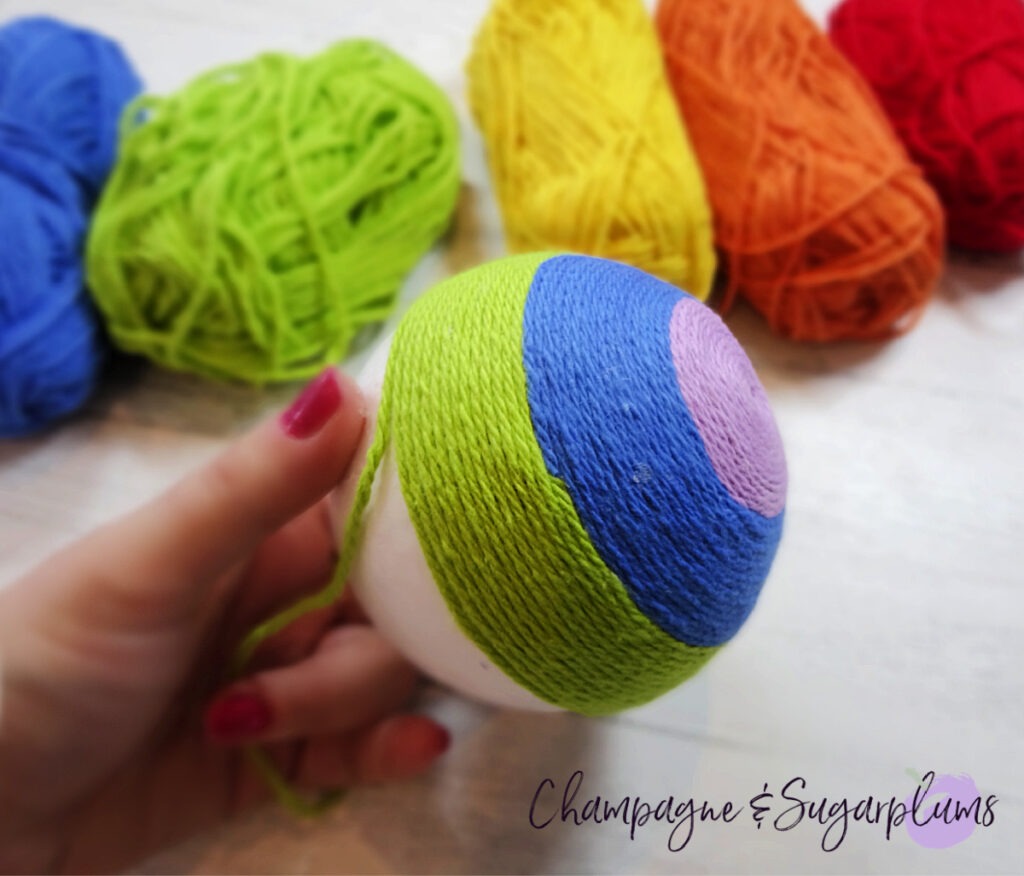
Continue this technique with each colour to cover the entire ball.
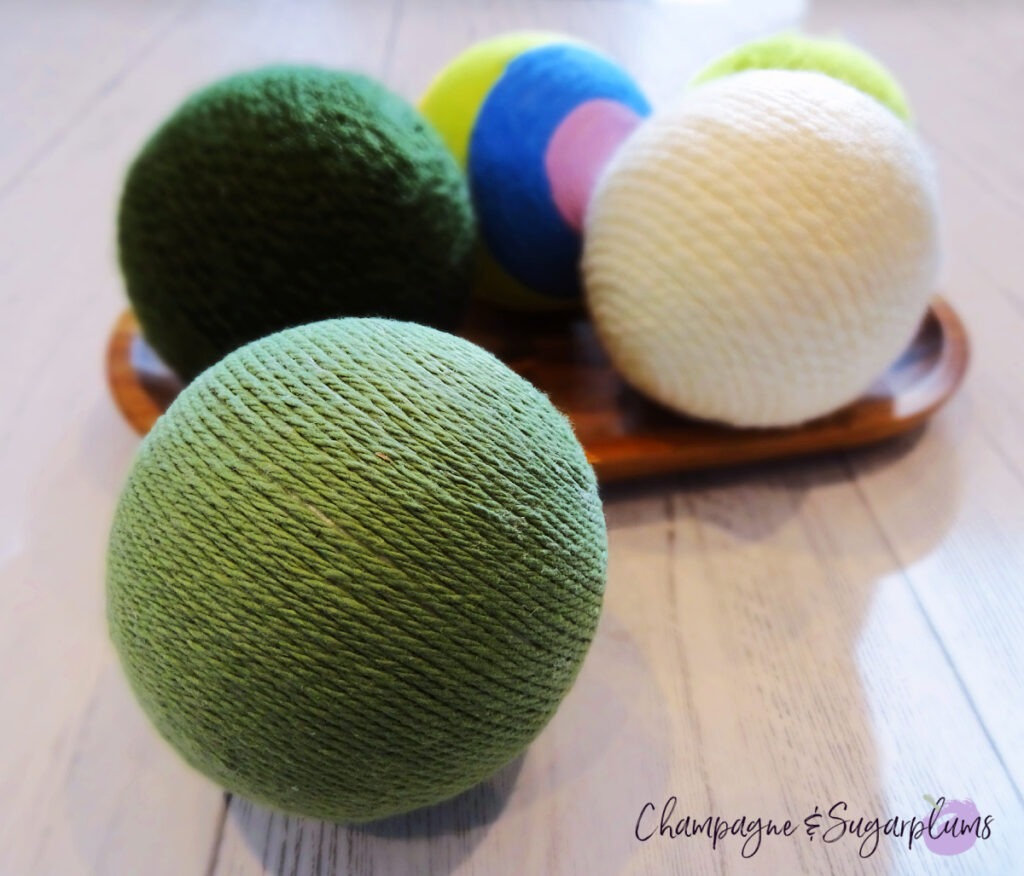
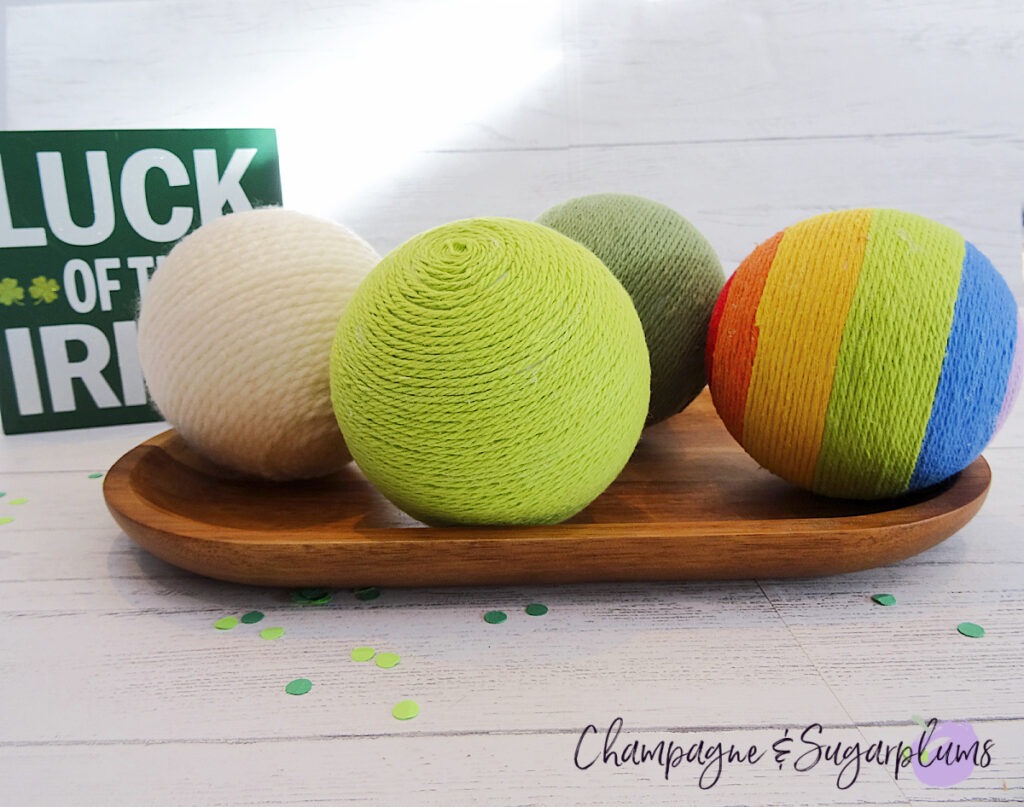
Wrapping orange yarn around a  Styrofoam ball to make a rainbow on a white background by Champagne and Sugarplums
A Styrofoam ball wrapped in varying shades of yarn to make a rainbow on a white background by Champagne and Sugarplums

All done!

Lucky Green Balls - Styrofoam balls wrapped in varying shades of green on a white background by Champagne and Sugarplums

Lucky Green Balls - Styrofoam balls wrapped in varying shades of green on a white background by Champagne and Sugarplums

If you need some more St. Patrick’s Day crafting ideas, check out our Rustic Rainbow Signboard and then our Shamrock Rainbow Fingerprint Painting. Happy crafting!

Lucky Green Balls - Styrofoam balls wrapped in varying shades of green on a white background by Champagne and Sugarplums

Lucky Green Balls - Styrofoam balls wrapped in varying shades of green in a white bowl by Champagne and Sugarplums
Lucky Green Balls - Styrofoam balls wrapped in varying shades of green in a wood tray by Champagne and Sugarplums
Happy St. Patrick's Day from Champagne and Sugarplums

Leave a Reply

Your email address will not be published. Required fields are marked *