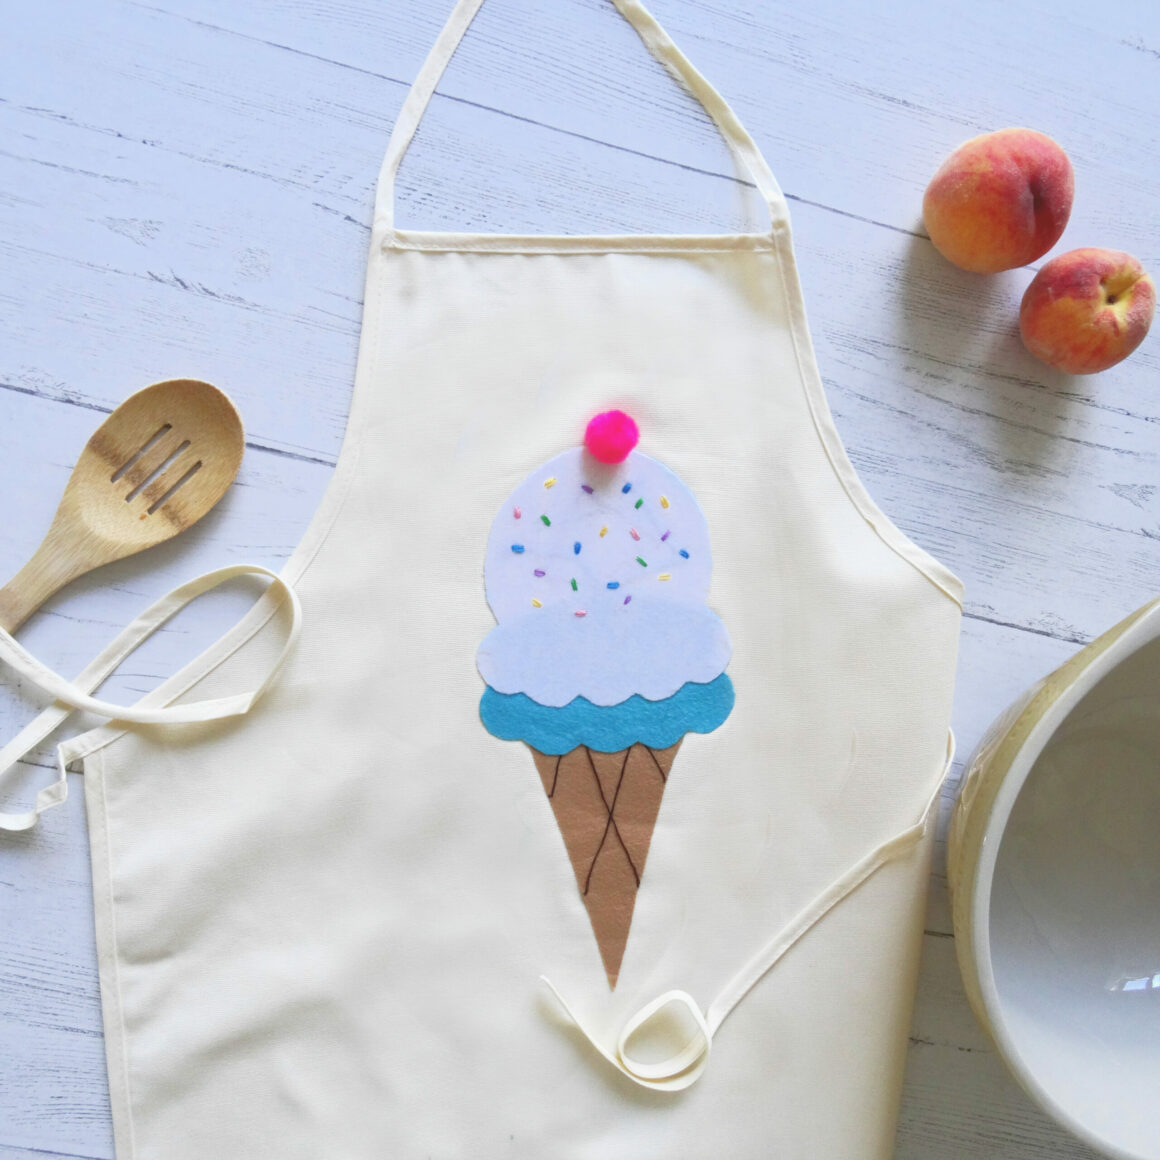
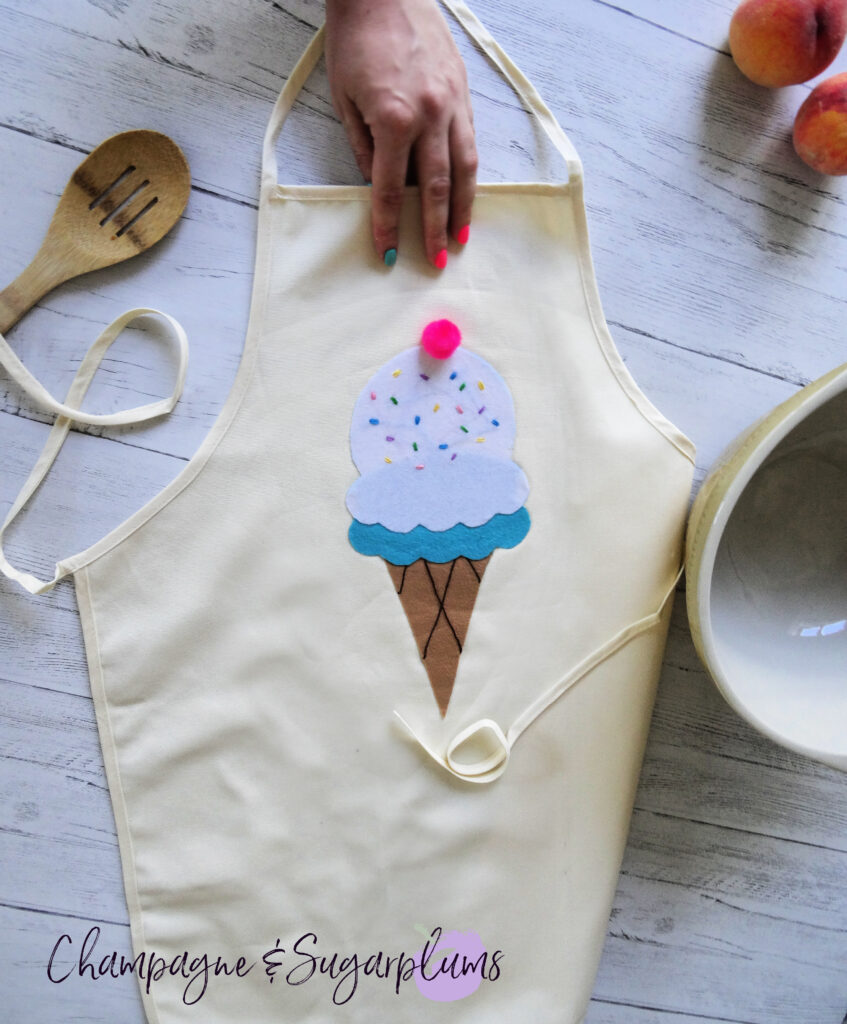
Ice Cream Cone DIY Apron with Free Template
We’re definitely well into summer, and we have the perfect DIY that will fit right in with your summer long weekend patio or poolside shenanigans! Our easy DIY Ice Cream Cone Apron is fun and cute for all summer entertaining. Pop it on while tending the BBQ or when prepping a delicious dessert. Either way, we think this ice cream apron is the perfect weekend cooking and baking attire!
This blog post may contain affiliate links. What does that mean? We may get a small commission if you make a purchase using our links, which helps us to keep posting new holiday content every week.

What You’ll Need:
- Ice Cream Cone Template
- Plain apron
- Felt in Tan, Blue and White
- Iron on adhesive
- Embroidery thread in Brown and five other bright colours
- Iron
- Scissors
- Needle
- One pink pom pom
- Glue
- Pencil and/or marker
How to Make an Ice Cream Cone DIY Apron

Firstly, print and cut out the ice cream cone template, separating the ice cream from the cone.

Secondly, trace the cone template onto the tan felt…


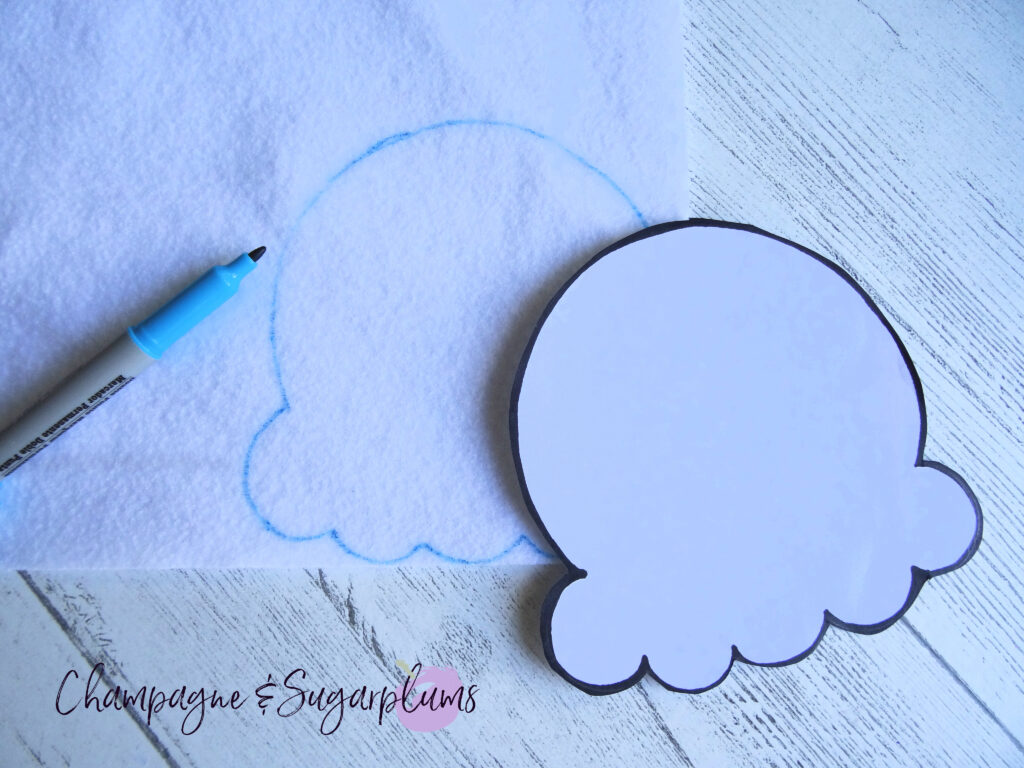
And the ice cream templates onto the blue and white felt and then cut out the traced shapes.
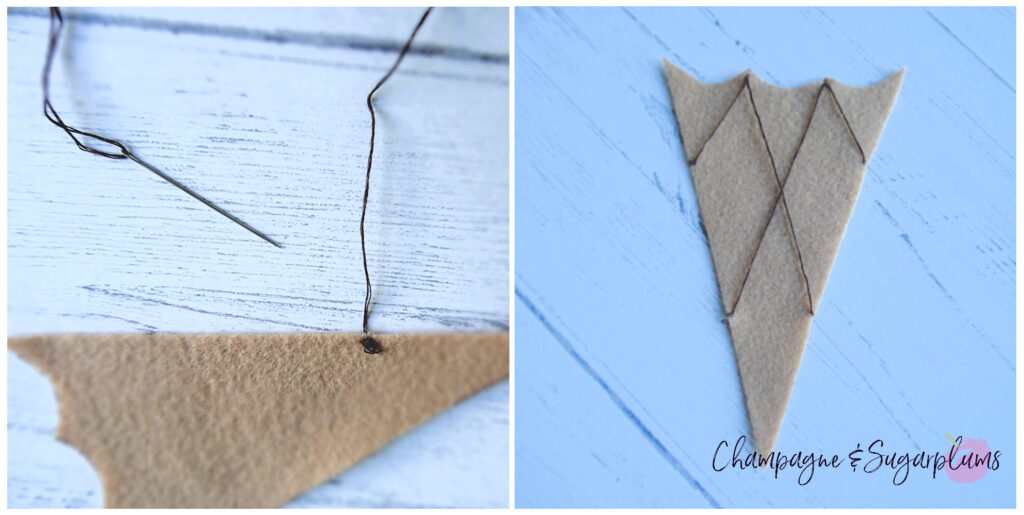
Use the brown thread to make waffle cone lines on the tan felt. Start by marking the lines on the wrong side of the cone with a marker and then sewing lines, following the dotted pattern.


Make coloured sprinkles in the white felt by sewing small double lines in random places all over the ice cream dome.

We made 3-5 sprinkles per colour.
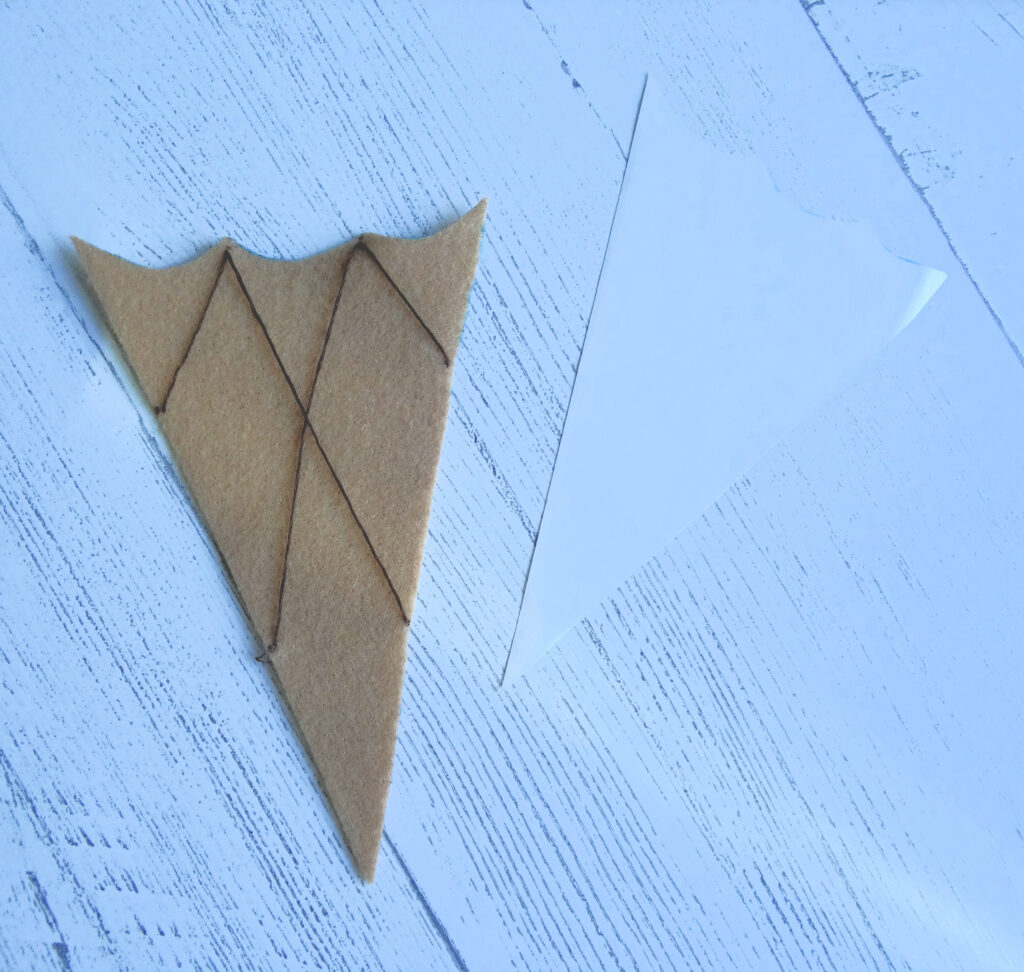
Trace and cut out each piece of felt from the iron-on bonding paper.

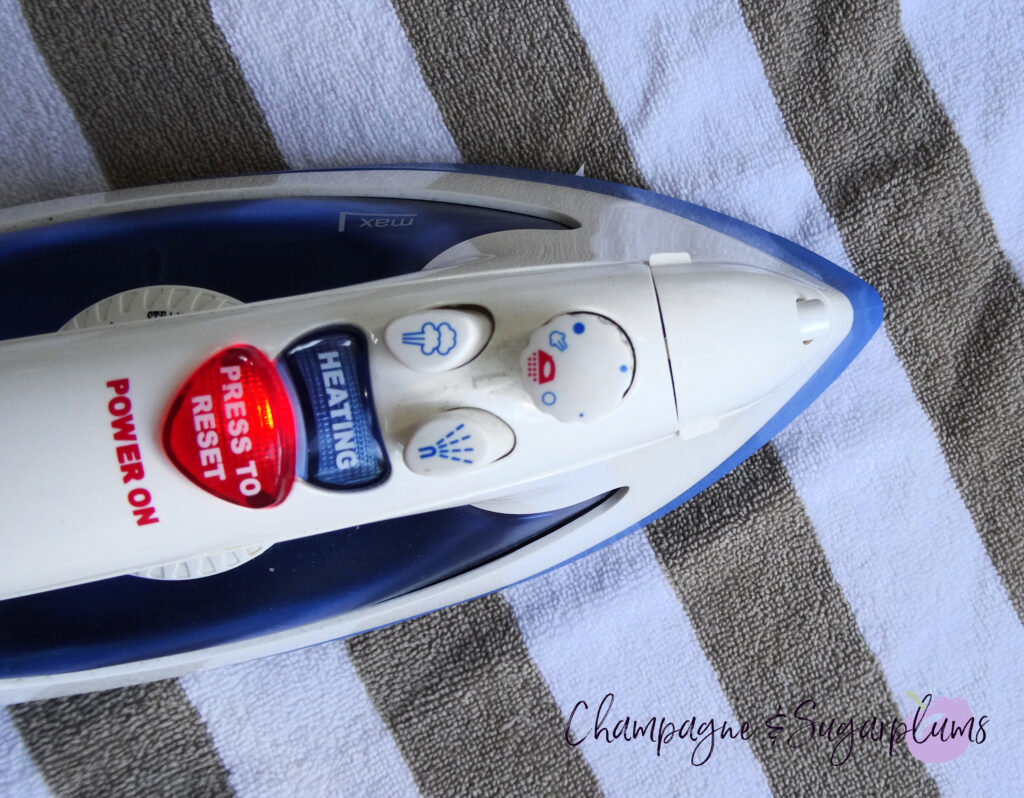
Follow the directions of the bonding paper. Usually, the first step is to iron the clear, ‘bumpy’ side of the bonding to the wrong side (the side without the embroidery) of the felt. Hold an iron (do not use steam) over the felt and press and hold until the bond has taken.
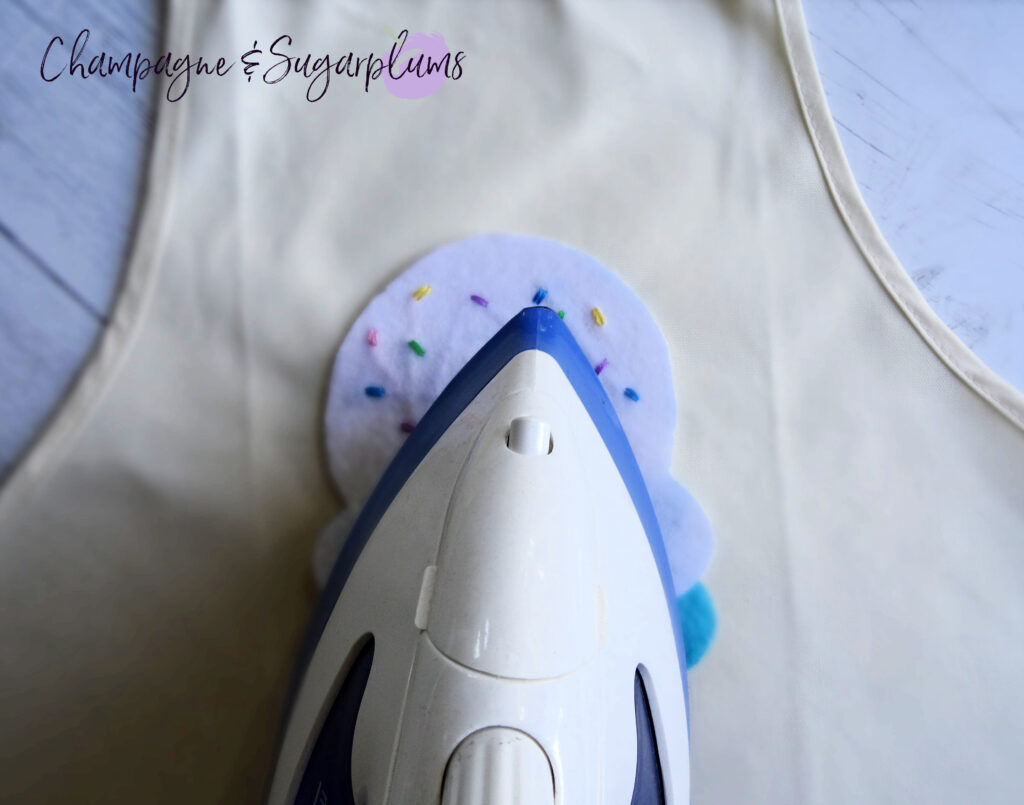
Then peel the paper backing off and lay it onto the apron. Press with the iron until bonded. Try not to rub the iron back forth too much.
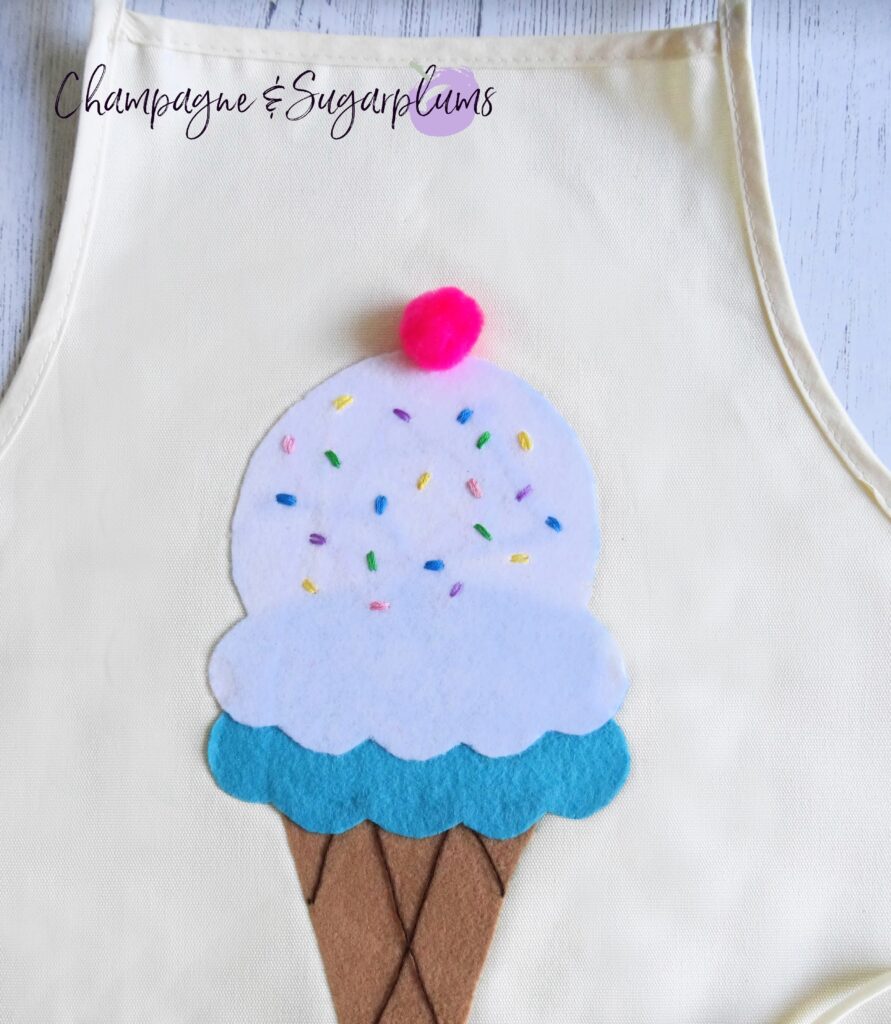
Finally, glue the pom pom in place on the top of the ice cream cone.

![]()

And it’s done – ready to wear for some BBQ fun! Hosting a party to show off your new Ice Cream Cone DIY Apron? Certainly try some of these summer long weekend recipes – Strawberry Rhubarb Cocktail, the Ultimate List of Summer Dessert Ideas, and the Ultimate List of Summer Dinner Ideas.